And it was.
.
I started visiting my Aunt Grace, Uncle Bill and cousins in South Carolina in 1971. I was ah-um.....well, never mind how old I was. Doesn't matter. Anyway, going to SC was always fun. As a teenager it was always an adventure. It was hot and dusty in the summertime, but there were always horses and dirtbikes to ride until the cows came home. No seriously, we really watched the cows come home.
When I lived in Charleston, S.C. in the early 90's, I traveled the four hours west at least once a month for three years. I never had to announce my arrival because they always expected me. I merely walked in, dropped my bag in "my" room (which had been so designated many years before) and headed out to the pool.

Of course there were many times when they came to visit me in Charleston instead......

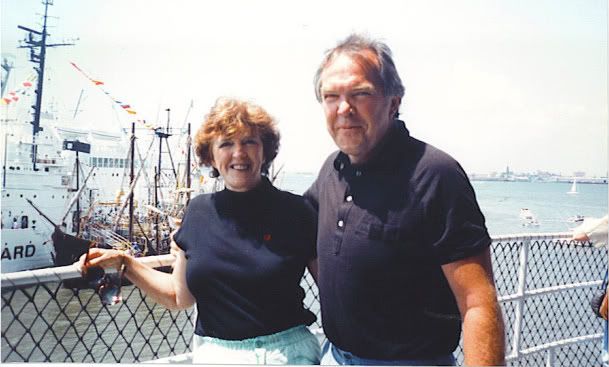
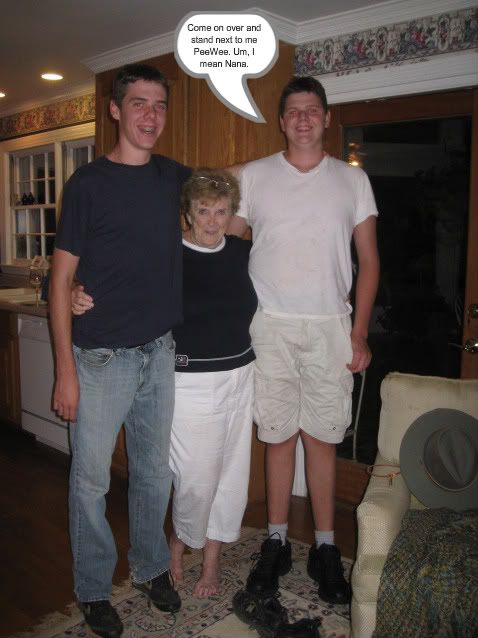
It is always an adventure spending time with these two!
But it's the place known as "Graceland" that will always be special to me.

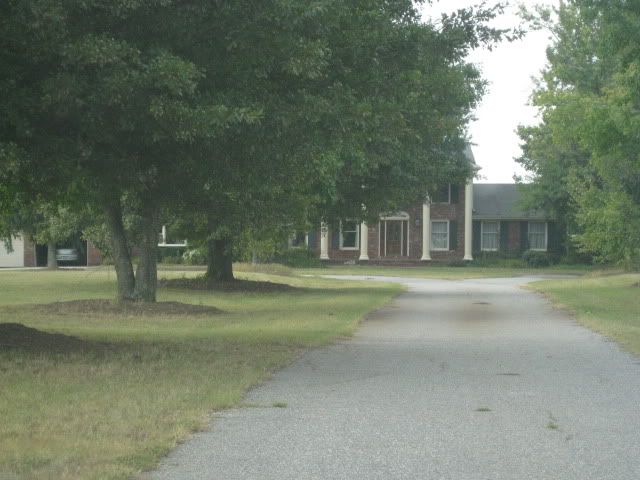
These are the gates at the very end of their driveway. Yes, that's my cousin Marg's house in the background. My uncle and cousins built it and it is stunning! Stunning I tell you. What's that? No, ...it's not really that close to my Aunt and Uncle's house. Okay, okay.....it's in their front yard. But they have a really, really, really BIG front yard.
Named by my uncle, in honor of my Aunt Grace, it has and always will be a home-away-from-home for me. It is a place always filled with life, family, laughter and love. I have heard that there is another place somewhere in Tennessee also named Graceland. Something about it being a famous singer's home?? I don't know, but wherever the heck it is, I'm sure they copied the idea from my Uncle Bill. (wink, wink)

This is my aunt and uncle's dining room. Lots and lots of chocolate has been spilled served here.

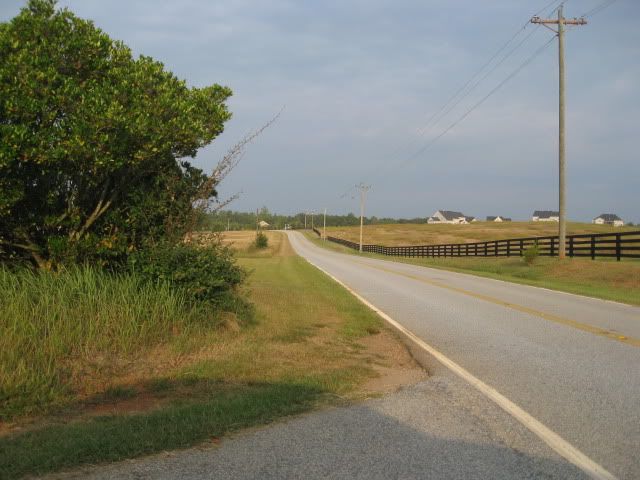
South Carolina. My Uncle Bill has always been known to say, "What a beautiful place to live". And. It. Is. I know this to be true because once upon a time I lived there too. This is the view from their front door. Nothing but miles and miles of fields. The beauty of this land never fails to take my breath away.

This is my uncle's dog, Ruffo. Isn't she sweet? I just love her. She was a stray and showed up on my aunt and uncle's doorstep about a year ago. She adores my Uncle Bill and is a fierce protector of all of the children. She will challenge any unfamiliar visitors to the property and will bark formidably when an unknown car meanders down the driveway. Nothing gets by her, so don't even try.
My uncle is a builder....and he is a great builder too. Not only of homes, but also of dreams. He, my aunt and cousins have created such a successful business in the South....it's a family business which has been steadily built on a foundation of blood, sweat and tears. All of it.........back breaking work.
And one time.........literally.

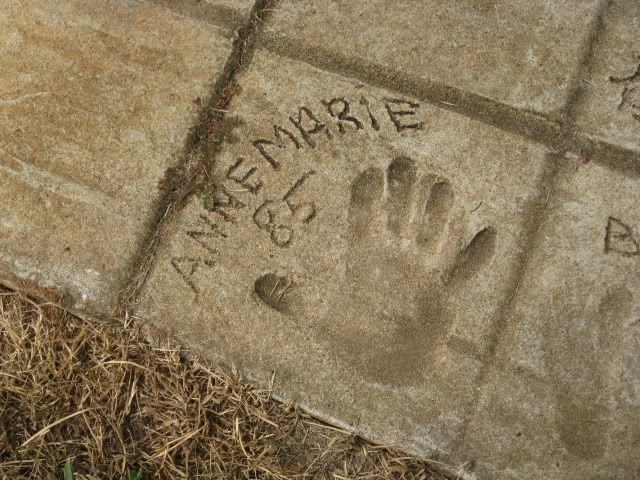
I remember when this "Walk of Fame" was created in the backyard by the pool. My aunt wanted everyone from the family to put their handprint in the wet cement of the walkway on the upper section closest to the house. It worked for everyone but my cousin, George. He wasn't there that day.....and the cement was drying quickly. The next day the cement on the upper walkway had set. George showed up and left his handprint on the lower walkway about 8 feet away from the rest of the family. My aunt was extremely disappointed and wasted no time telling my uncle that she just would not be happy until George was "in his rightful place". My cousins and I watched in awe as my uncle patiently jackhammered a small section of cement out so George could be "moved up" on the walkway. It took him all afternoon.
But he finished it.
(Personally, I would have cheerfully handed my Aunt the jackhammer)
Hmmmm....."How did she make it into the Walk of Fame??"
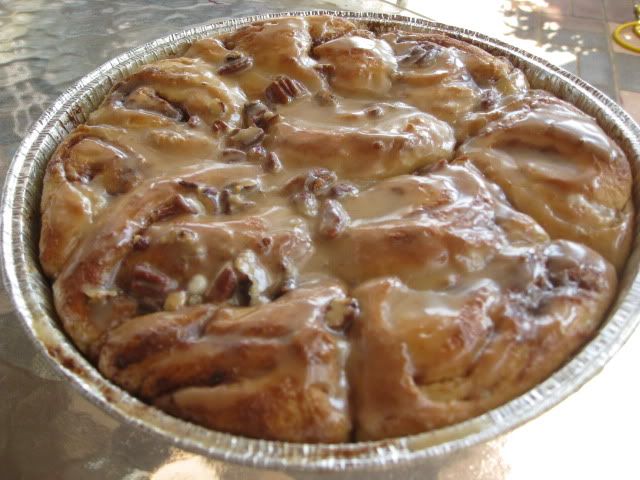
Anyway, during my surprise Labor Day visit, I thought it would be fun to get everyone involved in a recipe. What better than a big batch of homemade Cinnamon Rolls? The recipe belongs to Pioneer Woman (Ree) and I have to tell you that it is the perfect recipe to get a group of people involved in. Everyone can and did help. My uncle Bill sat comfortably in a large easychair in the corner of the kitchen, happy to be in the midst of all the hustle bustle and confusion. His eyes twinkled as he followed my every move at the stove. He told me that he also had a recipe for Cinnamon Rolls and he used to make them all the time.
Are you challenging me to a "Cinnamon Roll Throwdown" Uncle Bill?? Well, s
tep it up and bring it on, dude! I'm buttering up another set of pans as we speak.
Hey........ Nice Buns! Why, thank you!
The recipe for these Cinnamon Rolls is an easy one. Although I'll list ingredients through the photographs, here's the full recipe. Because once you've tried these babies, there's no goin' back. Ever. You'll be hooked. Your family will be hooked. Your friends won't be able to look upon your face without drooling. So fasten your seatbelts, you're in for a wild ride.... because after you taste these rolls, your life will never be quite the same again.
Pioneer Woman's Cinnamon Rolls
1 quart of whole milk
1 cup of vegetable oil
1 cup of granulated sugar
2 packages Active Dry Yeast
8 plus 1 cups of all purpose flour
1 heaping tsp baking powder
1 "scant" tsp baking soda
1 heaping tablespoon salt
1 to 4 cups melted butter
2 cups of sugar (for the filling)
Lots and lots of cinnamon
Chopped pecans or walnuts for sprinkling (optional)
Maple Frosting
1 - 2 lb. bag of powdered sugar
2 teaspoons maple flavoring
1/2 cup milk
1/4 cup melted butter
1/4 cup of brewed coffee
1/8 teaspoon of salt
Mix the milk, vegetable oil and sugar in a pan. "Scald" the mixture (until just before it boils), then turn off the heat and leave to cool about 45 minutes to 1 hour. When it is lukewarm, sprinkle in both packs of Active Dry Yeast. Let this sit for a minute. Now add 8 cups of all purpose flour. Stir it all up, cover and go play touch football or something while it rises for at least an hour.
Now add 1 more cup of flour, the baking powder, baking soda and the salt. Stir it all together. Now you can do one of two things. You can cover the dough and put it into the fridge until you need it (overnight), or you can jump right in and start baking.
Sprinkle your surface with flour. Take half the dough and form a rectangle. Roll the dough thin. Drizzle 1 1/2 to 2 cups melted butter over the dough. Now sprinkle 1 cup of sugar over the butter followed by a generous sprinkling of cinnamon. Now, starting on the long side of the dough, begin rolling the dough neatly in a line. Keep the roll tight as you go. Pinch the seam to the roll to seal it. Spray your pans with non-stick spray (or just butter them up). Begin cutting the rolls approximately 3/4 to 1 inch thick and laying them in the pans. Repeat this process with the other half of the dough. Let the rolls rise in the pans for about 15-20 minutes then bake at 400 degrees until light golden brown, about 15 - 20 minutes.
For the frosting, mix together all ingredients and stir well until smooth. It should be thick but pourable. Generously drizzle over the warm rolls.
(Thanks Ree!)
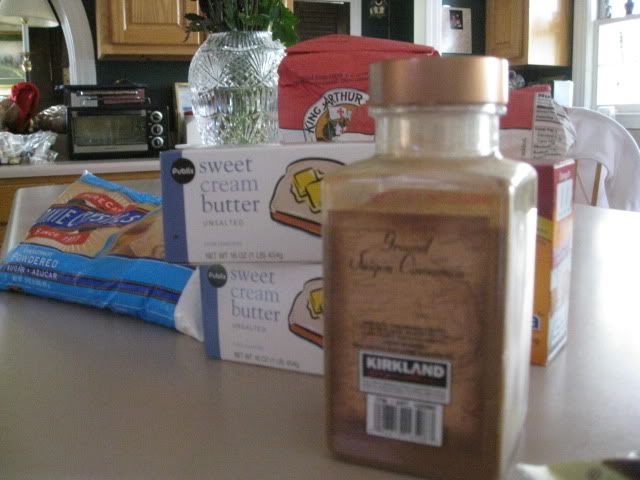
First, assemble your ingredients!

Then grab a sturdy pot. In this case I happened to grab my Aunt's 7 1/2 quart Le Creuset Dutch Oven. Aside from costing a small fortune, I marveled at the sheer weight of it. You could use it as a boat anchor. For the Queen Mary. Ever since seeing the movie Julie & Julia (the Julia Child story) I have wanted one. Surprisingly, I found this same dutch oven wrapped securely in a bag, hidden neatly away behind the driver's seat in my rental car as I left for the airport. Such a fabulous surprise! Thanks Auntie, I love it! Aside from being sternly warned by smiling airport security personnel that I was not allowed to bake on board the aircraft, the big blue pot, (forever more referred to as "Big Blue") and I flew home without further incident. It was so heavy I thought they were going to make me buy it a seat, but I was whistling Dixie all the way home. So in answer to my cousin Lisa's question.....yes, I do know where your mother's big, blue Le Creuset Dutch Oven is. Do you need to borrow it? (insert big smile here) Anyway, where was I? Ah yes.....it was the perfect pot for our buns. Er, ah, our Cinnamon Buns.
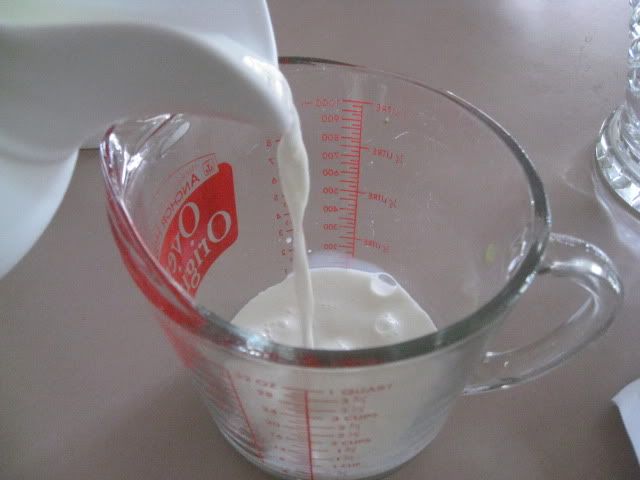
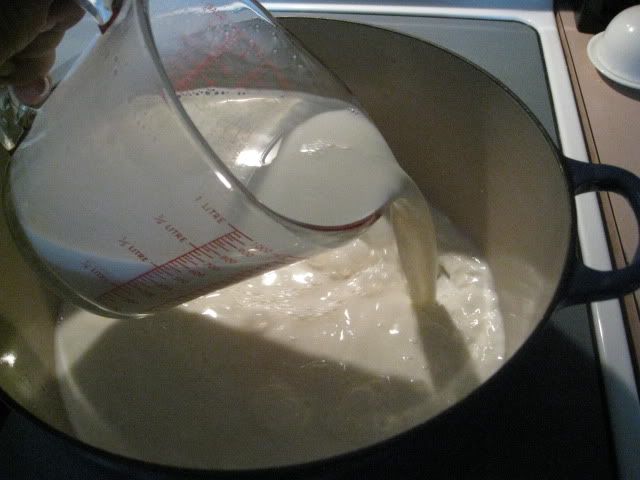
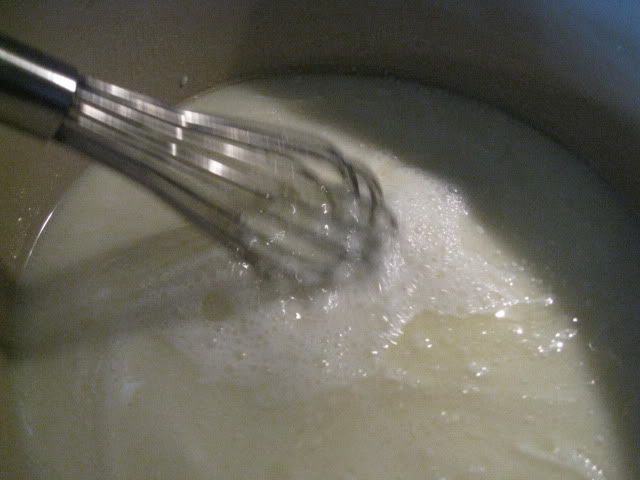
Add the milk , vegetable oil and sugar to the pot over low heat and whisk together. "Scald", then remove from heat and let it cool for about an hour.
When it is lukewarm, add the yeast and let it sit for about 1 minute.
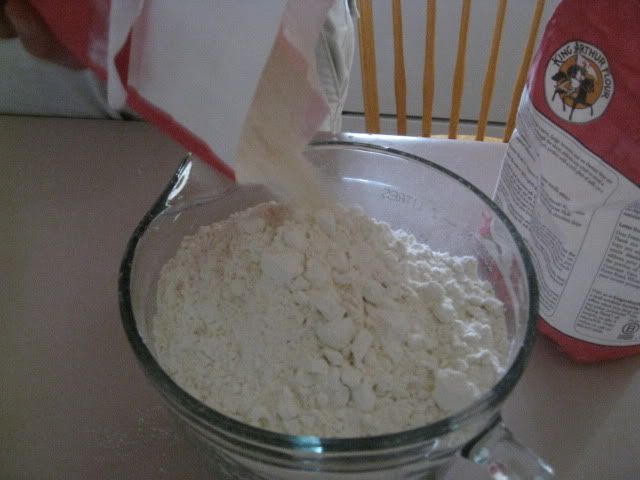
Then measure out 8 cups of all-purpose flour and add to the mixture.
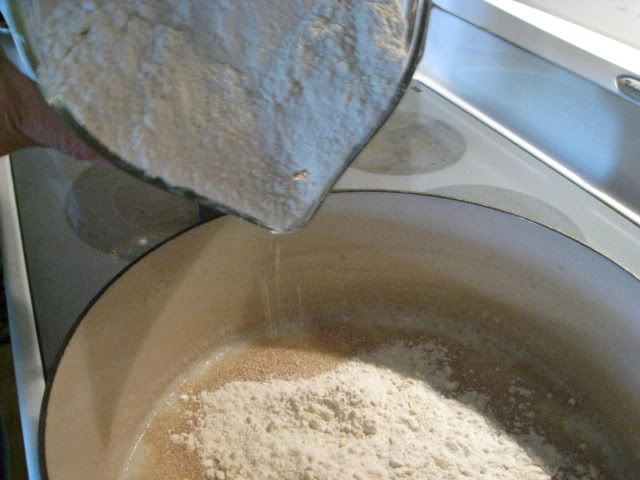

Mix it well, then cover with the pot lid or a damp dishtowel and leave it undisturbed to rise for about an hour.
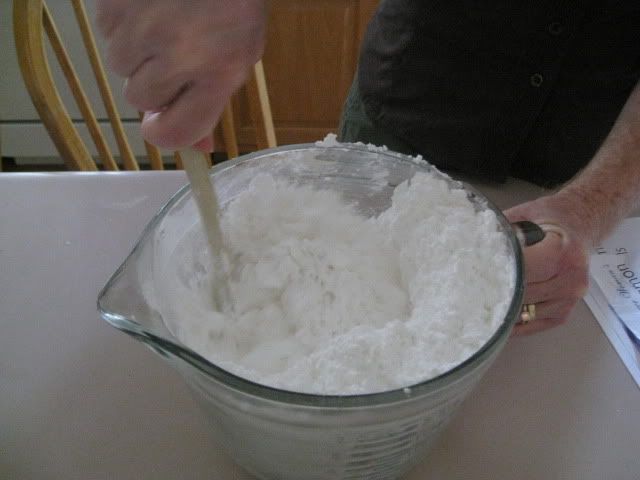
Then add one more cup of flour, the baking powder, baking soda and the salt. Mix it all together.
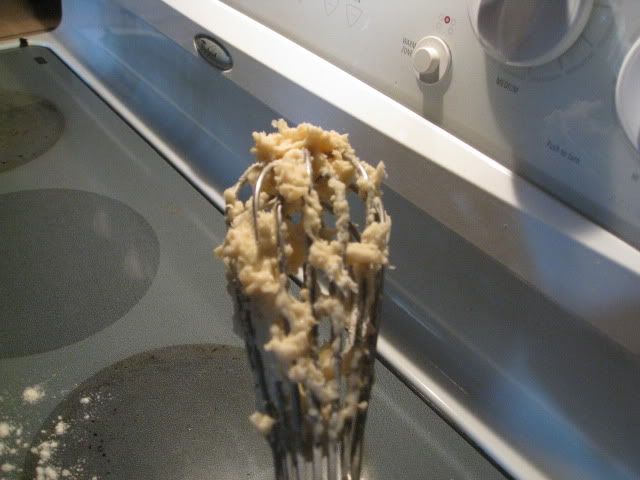
YUCK!
Never.
Never.
Never
....use a whisk when mixing up any type of bread dough.
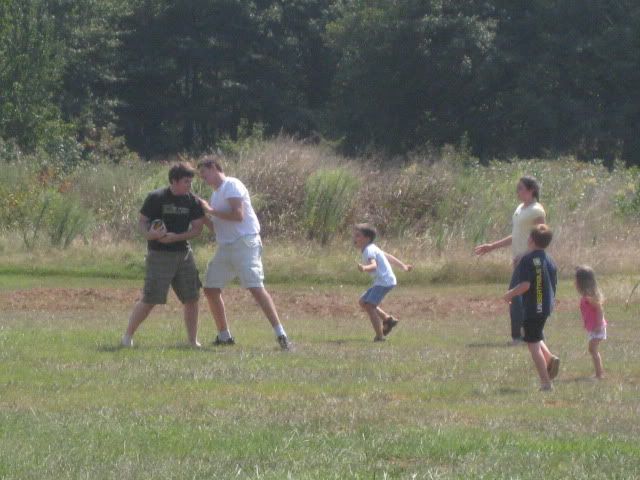
But always, always, always play a little touch football while the dough is rising. It's so good for the soul.

After about an hour, this is what it will look like. You'll know when it's ready when the dough has puffed up high...... but just before it swells up over the sides of the pot and swallows up your family.... punch it down, call in the kids from the yard, scrub up and get ready to rumble.

Start by having a helper with a giant hand sprinkle flour over a clean and dry work surface.
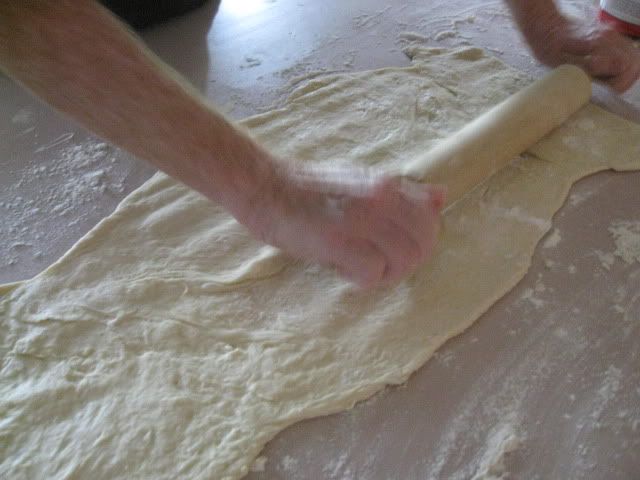
Then have another helper roll out half of the dough into a rectangular shape. Or something vaguely similiar.

Then have a smiling, friendly helper like Steven here, measure about 4 sticks of butter into a heatproof bowl and melt it in the microwave. You heard me. Butter. Lots and lots of butter, boy!
Steven is a huge help in the kitchen. For example,he doesn't need to stand on a chair to pluck something off the top shelf ........ever. I am thinking that my next adventure with Steven will be apple picking.

I think my arteries just hardened.

Drizzle half of all of that lovely, lovely butter up, down and all over the rectangle of dough. Save the the rest for the other half of the dough.
While doing this please............... try not to faint.

Then, have the same giant hand sprinkle granulated sugar and cinnamon over the melted butter. Again......hang onto something. It's intense.

DANG! Look at the butter oozing all over the counter. Who's got a spoon?
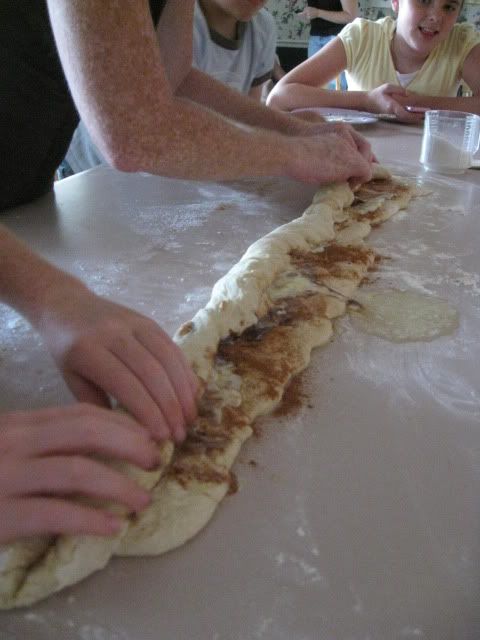
Now, carefully roll the rectangle up lengthwise. Yes the butter will ooze out on the counter. Isn't it lovely? When you are finished rolling you will have a large "jellyroll" of dough. Now, using a sharp knife, slice it up into pinwheels. Half of the dough from the big, blue pot will fill four pans with eight slices to a pan. Who wants to do the math?? Who said 32 slices?? Yes you in the back of the room.....you are correct. Please see me after class.
In case you're wondering, the reason why I don't use all of the dough at the same time is because the roll would be 6 feet long! Trust me, it's much easier to do one half at a time.
On the subject of pans, I usually use the inexpensive aluminum throwaway kind. They usually come in a pack of eight and although I get them in bulk at the Christmas Tree Shop, I think you can pick them up cheaply pretty much anywhere.

Once the slices are in the pans, set them aside for about 20 minutes for a final rise before baking.

Then they all go into the oven at 400 degrees for 18-20 minutes or until they are a light golden brown.
For the frosting, pour the entire bag of powdered sugar into a large bowl. Add the maple flavoring, milk, melted butter, brewed coffee and salt and mix it all up. Flex up! You will have to use all of your muscles for this!

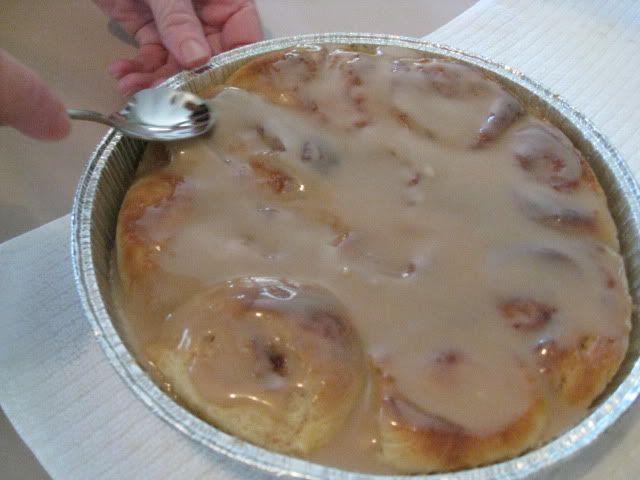
When it's finished, it will look like this....sweet and rich.....just like I like my............ oh, never mind.

Now carefully, without fainting again......pour over each pan of warm rolls.

Pour it all over Sweet Cheeks......everywhere......all the nooks and crannies! You can do it.

Once again, I found that at this stage of the baking process, many faces magically appeared in the kitchen. It happens almost everytime I bake at Graceland. Some of the faces are familiar. Some, I've never seen before. Where do they come from? The answer is as plain as the corn grown in the fields along the country roads.
"If you bake it......

.....they will come."