I was inspired.
There are just so many fun and interesting recipes out there for St. Patrick's Day, it was mind-boggling. Cakes made with green tinted coconut, fondant shamrocks, Chocolate Irish Cream, Pistachio Pudding Cake and cupcakes made with stout. (hiccup) The ingredients sounded so intriging, but it was the brilliant green color and mysterious ingredient that totally won me over on this one.
Matcha.
I know, right? What the heck is it? About the closest I could come to it was singing a verse from the Village People, "Macha, macha man.....I want to be a Matcha Man". What? Oh right..... it's Macho Man. I stand corrected. Thank you Sister Mary Elephant.
Anyway, Matcha is a green tea powder from Japan, and guess what? IT'S GOOD FOR YOU TOO. Ignore the fact that there is cocoa, sugar, butter, etc., in these cupcakes and repeat after me. "It's good for me". Yep. That's why I can't be a model for Victoria Secret anymore. (wicked grin)

Matcha comes in a small bag (which runs about $9 by the way). I purchased this one at Whole Foods, but I know you can order it from Amazon.com as well. I found scores of different recipes on the internet and ended up literally combining and modifying two different ones and the result was fabulous! Here's the recipe:
Cocoa Matcha Cupcakes
Chocolate Mixture: 1 1/2 cups all-purpose flour
1/2 cup cocoa
1 1/2 tsp. baking powder
1/2 tsp. salt
Matcha mixture: 1 1/2 cups all-purpose flour
2-3 Tbsp matcha powder
1 1/2 tsp. baking powder
1/2 tsp salt
Wet ingredients:
3 cups sugar
1 cup unsalted butter, softened at room temperature
3 eggs, room temperature
1 3/4 cup milk
1 tsp vanilla
Preheat oven to 325 degrees. If you're not using cupcake liners, grease the cupcake pans and dust with cocoa. With a wire whisk, mix the dry ingredients for the chocolate mixture in a small bowl and set aside. In another small bowl, do the same for the matcha mixture. Using a mixer, cream the butter and sugar. Add the eggs, milk and vanilla and mix until thoroughly combined. Divide the creamed mixture evenly in two separate bowls. Slowly add the chocolate mixture to one half of the creamed mixture and mix thoroughly. Then, add the matcha mixture to the other half of the creamed mixture and mix thoroughly. Drop alternating spoonfuls of each mixture into each cupcake liner. For a marbled effect, gently run a knife through the two batters in a swirling motion. (Just once around will do the trick.) Bake for about 30 minutes.
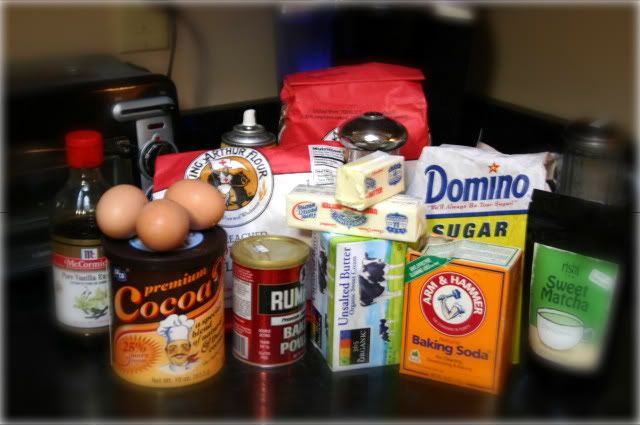 I used a plethera of ingredients for this recipe.
 (I just love that word!)

It's this gorgeous green color that gets me every time. Use one bowl for the Matcha Mixture.....

....and the other bowl for the Cocoa Mixture.
 Grease the cupcake tins and dust with cocoa powder. I didn't use cupcake liners for this recipe because I wanted to be able to see the green and cocoa marbled all together once they were baked.
 Linda Blair.........paging Linda Blair?
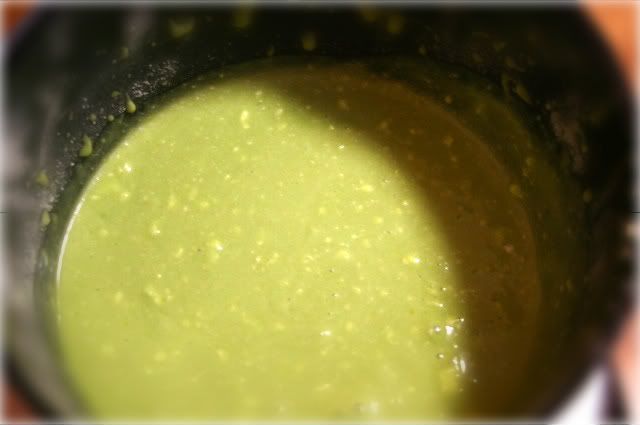 Looks scary. Tastes delicious. You must trust me on this.
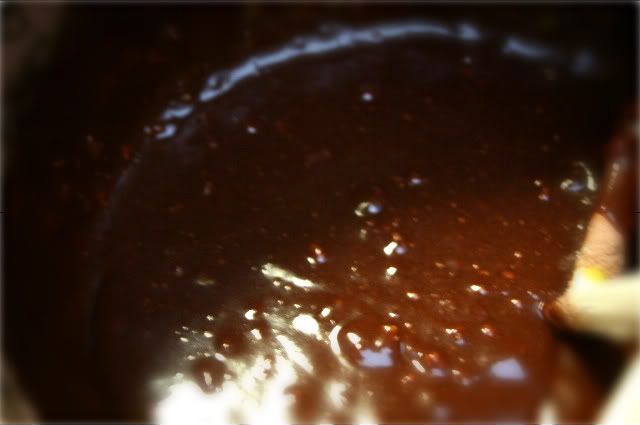
 Now drop the batter by tablespoons, alternating the Matcha with the Cocoa. End by running a knife through each one to "swirl" the two colors together. Just do it once though, otherwise your colors will blend and that won't be good....because when you mix bright green and brown together you get something that resembles swampwater. Um....yum.
  See how pretty?? I almost hated to frost them. Well...almost.
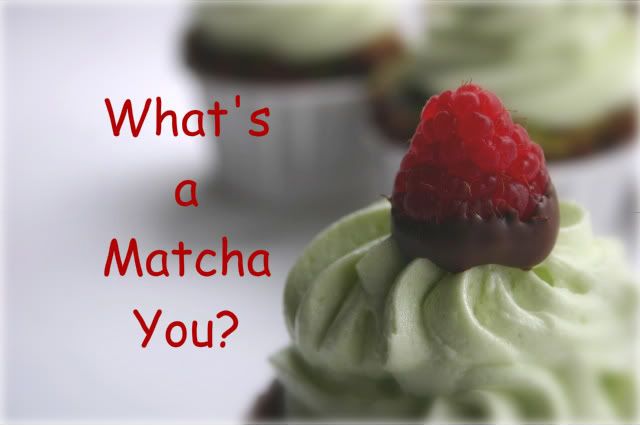
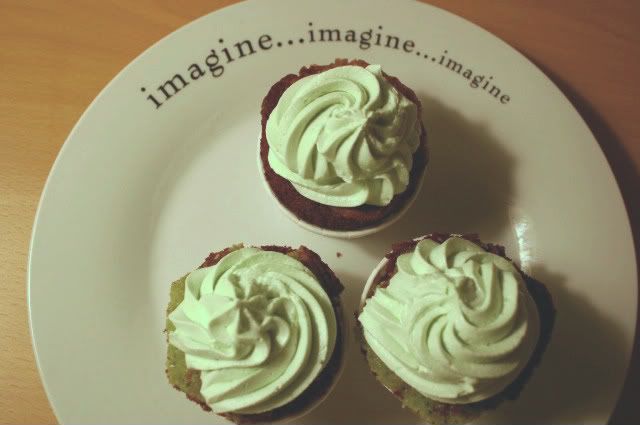

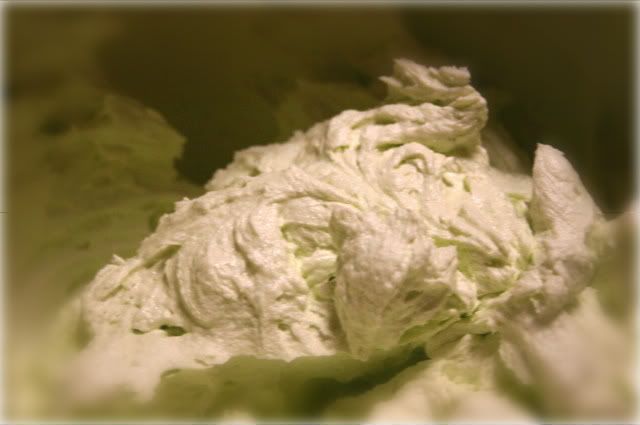
The Matcha Frosting was my own creation. So easy. I used two sticks of butter, softened. I added 5 cups of confectioner's sugar, 1 tablespoon of vanilla,1 tablespoon of Matcha, 1/2 - 3/4 cup of milk and beat the living daylights out of it with my Kitchen Aid Mixer. I mean I really whipped it up. When it was light and fluffy, it was ready.
 For the chocolate "scrolls", I melted a cup of semi-sweet morsels over a double boiler. Then I slowly poured it onto a clean and perfectly dry cookie sheet and used a spatula to spread it out to cool. If there is even the hint of moisture around chocolate, your recipe will go over a cliff really fast. Have you ever seen chocolate seize? (shudder) It's an ugly, ugly situation, trust me.
  When the chocolate was just about dried (but not totally solid), I used a pastry cutter to shave up the chocolate.
 Look! Scrolls!!!
 Okay, so they're not perfect scrolls. C'mon, in the World of Scrolls, who is? But they're close. They're very, very close.
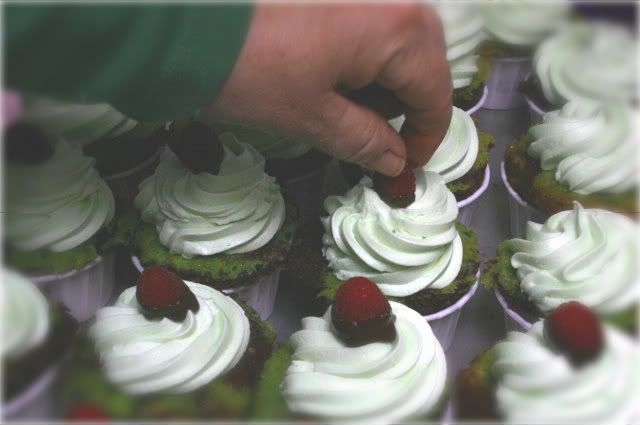 I had a half pint of fresh raspberries in the fridge, so I used the excess melted chocolate and dipped their little bottoms in it. They I perched a nice fresh chocolate-bottomed raspberry on top of each cupcake.
 I purchased these little paper ramekins from a baking supply outlet and thought they'd be a nice change from the usual cupcake liner. Plus, since the cupcakes were baked right in the pan, the ramekins were now more of a cupcake "holder". Hmmmm...makes for easy cupcake removal to take that first great big BITE!
These turned out to be the most delicious cupcakes..... ever! I highly recommend them.
 And of course, when I added the chocolate scrolls it suddenly went from being a delightful-looking little cupcake to a complete show-stopper.
So, are you ready to take on a cupcake challenge?
Go on. You can do it.
 When was the last time that you stopped the show?


 No. I haven't. Yet. This month's cover of Family Circle Magazine was intriguing. Baked Donuts? I mean, why not, right? We have baked potato chips and baked french fries....why not a baked donut?
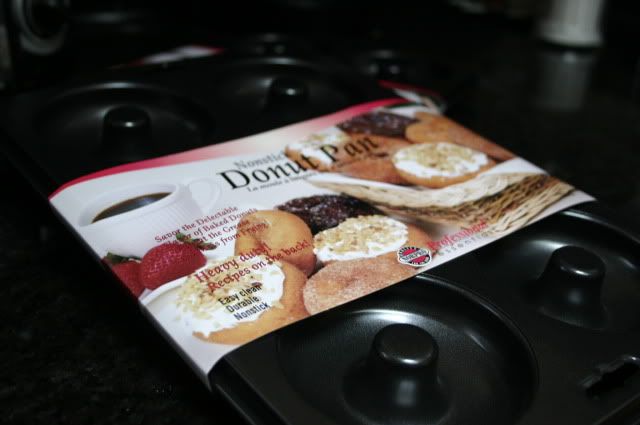

 Add the yeast, stir and let sit for about 5 minutes. The yeast will get all warm and bubbly and happy.


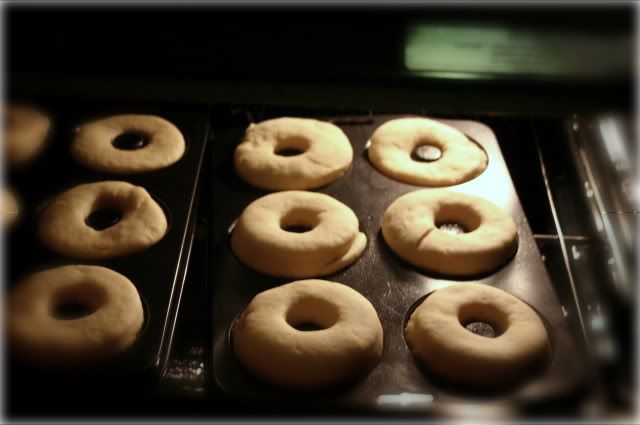
 Cover it with a clean dishtowel and go do laundry for about an hour. By the time you're finished, the dough will have doubled in size.
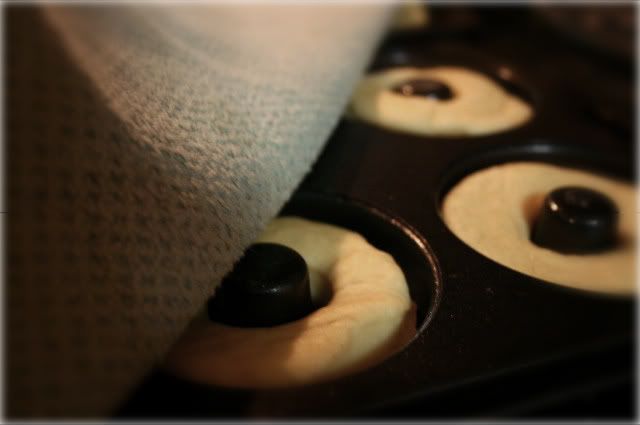
 Even though I have the donut pan, I used two cookie cutters to form the donut shape.
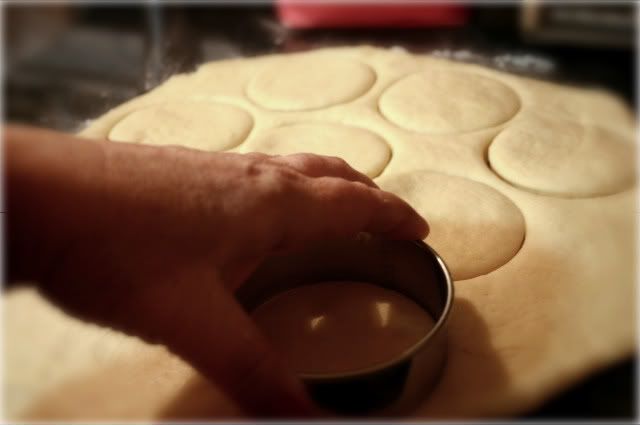


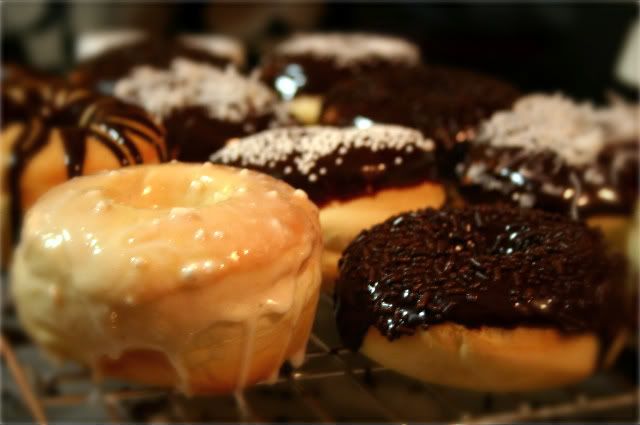
 Oh and coconut. And chocolate sprinkles.


