Monday, October 3, 2011

Brown Butter Rice Crispy Treats.


My sister Kathy and I recently took a fabulous baking class at Flour Bakery in Boston, MA. Our amazing instructors, Sarah and Rona, demonstrated five different cookie recipes right out of the Flour Bakery cookbook and these Brown Butter Rice Crispy Treats were one of them.

Upon reading these in the class agenda, Kathy wrinkled her nose up and promptly declared, "I've never liked them very much".  
Ha!

These may seem like the recipe from the Rice Krispy box, but TRUST ME....it is not even close. These are the epitome of an "adult" rice treat. Make a batch today and you will see what I mean. Or..........just ask my sister Kathy. 


BROWN BUTTER RICE CRISPY TREATS
Flour Bakery

2 sticks unsalted butter
two 10-ounce bags of regular sized marshmallows
1/2 vanilla bean
1/2 teaspoon salt
9 cups rice crispy cereal

In a large pot, place butter over low heat. Scrape the seeds of 1/2 vanilla pod directly into the butter. Reserve the pod for another use.  Let the butter melt. Once it has melted it will start to bubble and crackle. Watch it very carefully and you'll see the butter slowly browning; as soon as the bubbling subsides (about 5-6 minutes) the butter will be fully browned and it's ready for the addition of the marshmallows.

Turn the heat down to low and use a wooden spoon to stir in the marshmallows and salt. Stir well until the marshmallows are completely melted and the vanilla seeds are well distributed. Remove from heat, add the cereal and mix well with a wooden spoon. Pat into a greased 9x13 pan. Let cool to room temperature (or you can speed it up by placing in the fridge) for about an hour and cut into generous squares. These treats are at their best when served within 2 days. Store in an airtight container at room temperature.  


Assemble your ingredients...or as we learned in class, mise en place, which is a French term meaning, get organized!!! We learned to measure out all or most of our ingredients and place them in labeled containers so it's easy to quickly assemble a recipe.


This recipe called for vanilla bean, but I was plum out. Instead I used an extra shot of bottled vanilla. You will want to use the heaviest and largest pot you own. Melt the butter over low heat until it starts to bubble and crackle. This is where the magic begins......


You want the butter to actually turn brown. When it reaches this color....
it is not ready. Does that look like brown to you??


It's getting there...... The brown butter adds a depth of taste that I can't quite describe. It takes these treats over the top and I can't wait to use it in other recipes too.


BROWN!!!


Then dump in your marshmallows...

..and the salt.


Roll up your sleeves and flex those muscles.....then mix it all up!


You may see little brown bits from the melted butter in the marshmallow.
It's all good, trust me.


Then pour in the rice mixture and mix it all up.


Make sure all of the rice is completely covered with the marshmallow!


Then grease a 9 x 11 dish OR use parchment paper. This mixture is sticky, sticky, STICKY! I suggest  spraying your hands with PAM or using the backside of a giant wooden spoon.


Now, you want to "coax" the mixture into the corners of the dish. DON'T PACK IT DOWN! I know that the traditional Rice Krispy Treats indicated that you should pack and stomp that mixture down as tight as you could. Although it looked neat and tidy, it made for a really solid and albeit heavy treat. Um...think hockey puck. Remember? Okay, with this recipe, you don't want to do that.


Let the treats cool at room temperature for a bit....forty-five minutes to an hour should do it. Then cut them into generous squares and prepare yourself, because after that first bite......


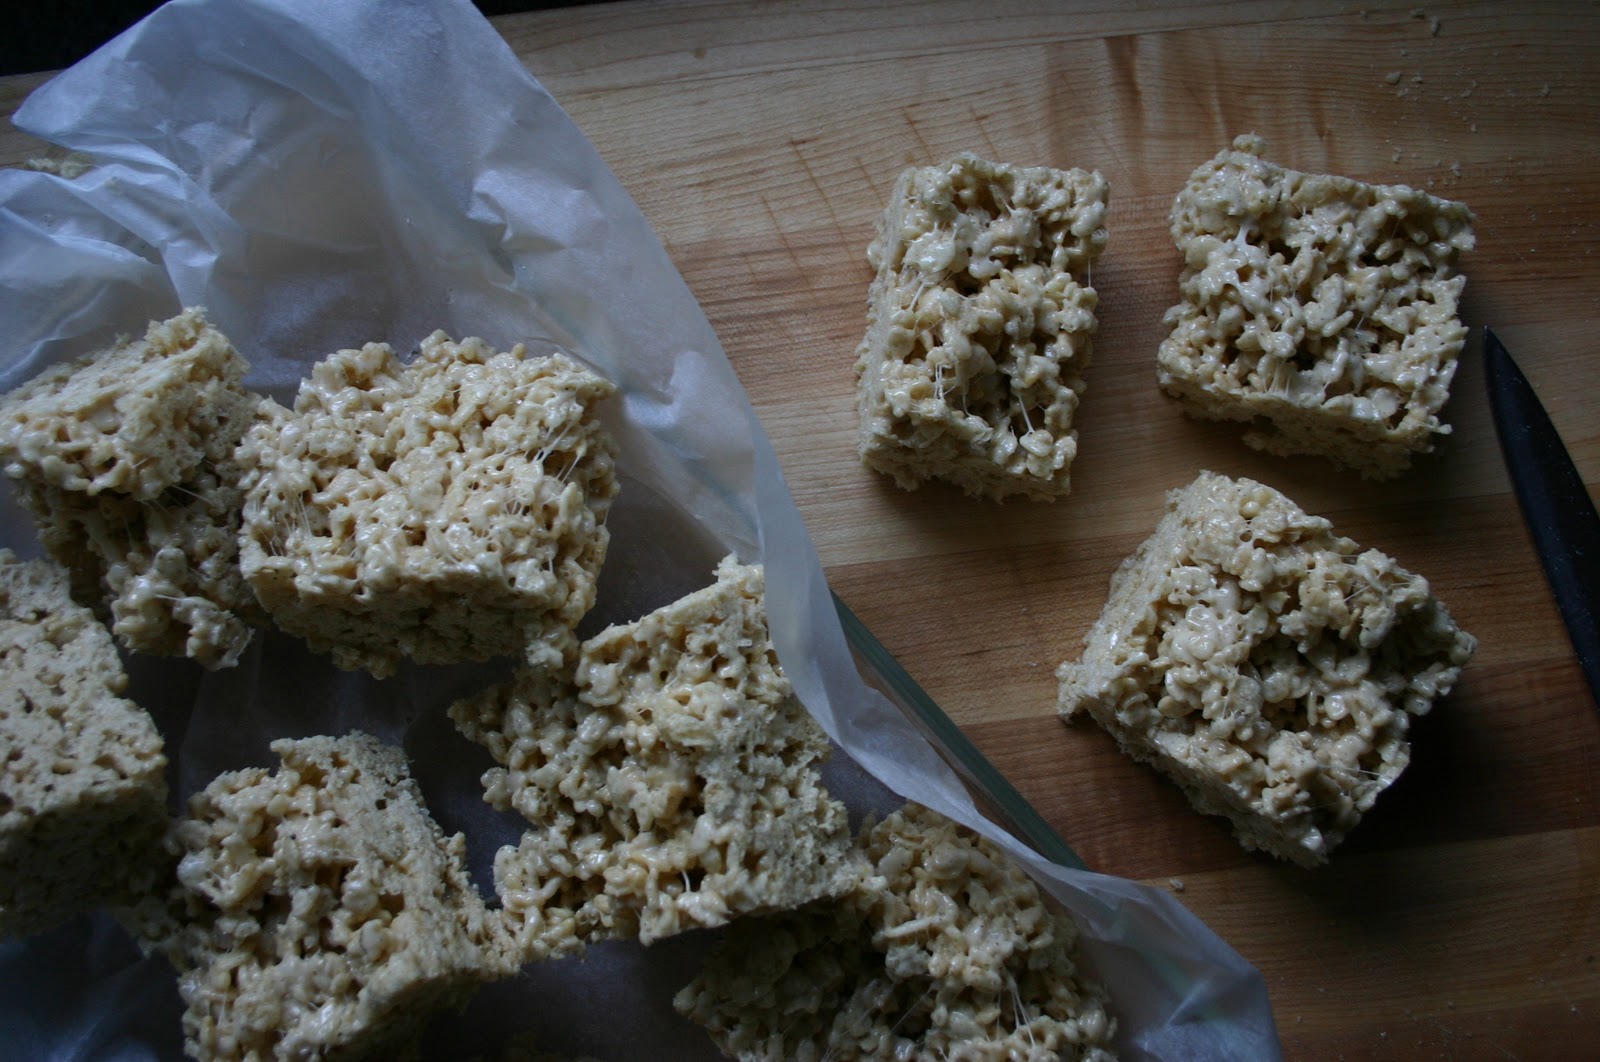
...you'll never look at Rice Krispies the same way again.

Monday, September 12, 2011

FLOUR!


My sister Kathy and I took a baking class this week. It was actually a baking demonstration held at Flour Bakery in Boston.....

....and it was fabulous.


The sold-out class was conducted by Sarah and Rona (Rona, I'm so sorry...I hope I am spelling your name correctly). Sarah is a Pastry Chef at Flour Bakery and although Rona acted as her assistant for the class, Rona's daily duties at Flour include training the bakers. Can you imagine?? She actually gets to train the bakers!  These girls were so much fun to watch! It was abundantly clear that they are totally and completely passionate about what they do.

By the way....the pics were taken with my IPhone, so if the quality is a little "rough".....I know you'll get over it.


The class was held inside the main room of the bakery after it had closed for the day. Our original date was supposed to be at the end of August, but Hurricane Irene rearranged that for us.


The last recipe I made from the new Flour cookbook were unbelievably decadent brownies.  A couple of years ago, I tried to re-create their double chocolate cookies. Both times, I thought I died and went to heaven. For this class, five delicious, mouth-watering recipes from the Flour cookbook were demonstrated.


Chocolate Chip Cookies, Raspberry Crumb Bars, Brown Butter Rice Treats, Ginger Molasses Cookies and Homemade Oreos.  Sigh. Samples were freely passed around and for those that wanted to take their treats home, little white bakery boxes were provided. My samples made it to the car but after that I can't recall what exactly happened, Your Honor.

So now, I know their little secrets.


And I'm not telling anyone.


..and neither is my sister Kathy.


Of course, bribery might work....but only if there's chocolate involved.

Or maybe a sticky bun or two.....


...but we can't wait that long.


After class was over, Rona proudly showed us around the bakery kitchen. This girl loves what she does.

You can just tell.


If only I had a pick-up truck and a gaggle of strong men....this baby may have found it's way home with me. So what if I have to build a new room onto my kitchen......can you imagine how many cakepops I could crank out with this 80 quart bowl?

Yowsa!


                               All in all, I'm pretty excited to taste try these new recipes.

.......are you?

Thursday, September 1, 2011

Bailey's Hot Fudge Sauce


Although you would never know it to look at her, my mother was the Queen of Ice Cream.


Quite simply, she loved it and never turned down an opportunity to sit and savor it's cold, creamy sweetness. When it came to ice cream choices, my mother always declared that James McManus Ice Cream was really delicious, but Bailey's was by far her favorite.


When I was a kid, a trip to Bailey's Ice Cream Parlor was a special treat. Bailey's set the bar pretty high as far as ice cream was concerned. No matter what Bailey's we visited in the Boston area, there were always people sitting around at little metal tables and chairs, happily eating ice cream from silver pedestal dishes. I remember that the outside of the dishes glistened with icy condensation as the long handled silver spoons scraped every last drop. (Insert drooling here.)There was a long marble counter with high round stools and there was always a small water fountain with little white paper cups. Why was it that a cup of cold water tasted so good after a dish of Bailey's ice cream?


For those who chose to add hot fudge sauce to their ice cream selection, the iconic silver dishes were always placed on top of a white saucer to catch any blobs of hot fudge or butterscotch that may drip over the side. I can see it like it was yesterday. And if I concentrate hard enough............I can taste it too. Go on and try it.

You know you want to.


Bailey's Hot Fudge Sauce

1/2 cup butter

2 unsweetened chocolate squares

2 cups confectioners' sugar, sifted

3/4 cup evaporated milk


 Over medium low heat melt butter and chocolate squares, take off heat.


 Add 1/3 of the sugar and 1/3 of the evaporated milk, mix with a whisk until smooth.  Add remaining sugar and milk, stir until smooth.  


Return to heat and simmer for 8 to 10 minutes.


Pour into canning jars or an other type of container, let cool and close jar. Note: This is not a canning recipe, the canning jars are just a cute way to give it as a gift. Recipe can also be doubled.

Then, only thing left to do is take a quick look around to make sure no one is looking.....and..........


.....................scarf down a spoonful or two.
 
 
I'll never tell.

Saturday, August 27, 2011

Rescue Me


I didn't get Gracie from a breeder....................exactly.


And I didn't get her from a Rescue, which according to popular opinion is the ONLY way to acquire a new dog these days.


I don't know what it is lately....but if I had a dollar for everytime I was asked if Gracie was a rescue dog, I could retire tomorrow.


I am a volunteer for Boxer Rescue and had all intentions of "rescuing" a boxer in need...or any dog in need for that matter.


But I was completely derailed by this face.


This sweet, little face.


So when did owning a Rescue Dog get to be so chic?


I do think it's fabulous that they are making T-shirts and bumper stickers now so people can tell the world about how they rescued a dog in need.


Indeed.


If only I hadn't seen those cute little hamster feet, or that cute little bum.


And the tail attached to it.


 No, I did not get Gracie from a Rescue.


but does it count that I think she rescued me?