Macarons.
It has taken me a few months of intensive blog reading to decipher what in the heck the hubbub was all about. So I finally made them.

 These are Macarons.

This is a Macaroon.
Let's break for a brief phonics review. We all know how to pronounce the word Macaroon. It's easy. The sound rhymes with so many words. "Hey! If you're looking for me soon, I'll be in the saloon, singin' a tune, lookin' at the moon, eatin' a Macaroon. (Dang, I feel like a goon.)
Whereas the word Macaron is slightly different. It's pronounced like the word macaroni......only without the "i". Wait, maybe this rhyme will help. "Please leave me alone , I'm on the phone, eating my Macaron.
There seems to be a frenzied craze lately about these lovely little cookies. Trust me when I say that they are simply delicious, but more importantly is the fact that they are technically challenging to make. That was all I needed to hear. After scouring the internet for baking tips, I decided to head for Barnes & Nobles to purchase a book on Macarons. Note that it is named appropriately.
 The book provided tips, pointers, recipes and beautiful photography.....and you all know what a pushover I am for a beautiful cookbook. I just couldn't help myself.
I don't have a food processor so I ground up the almonds in a coffee grinder. Yes....I cleaned it out completely before I used it.

 Combine the ground almonds with the confectioner's sugar.
 Blend together gently with a wire whisk.
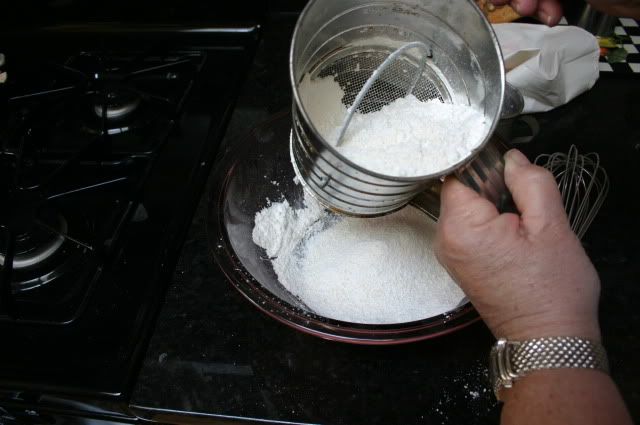 Then sift the mixture together. I love this old sifter. My Nana had one just like it when I was a child. My sister Kathy bought this one for me several years ago and I use it all the time.
 Set your sifted bowl aside. Now would be the time to add a powdered food coloring to the almond/sugar mix. I didn't have powdered color, so I used a bit of color food gel mixed with a tiny bit of water and mixed it into the meringue mixture. Sigh. It didn't work quite the way I wanted it to. You'll see what I mean in a second.
 Whip the egg whites on high until they are foamy, then gradually add the granulated sugar. Turn the mixer on high and beat the daylights out of it until it's about as thick as shaving cream. When you remove the beater, the meringue should stand up straight.
 Isn't this lovely? Now add the almond/sugar mix to the egg whites.


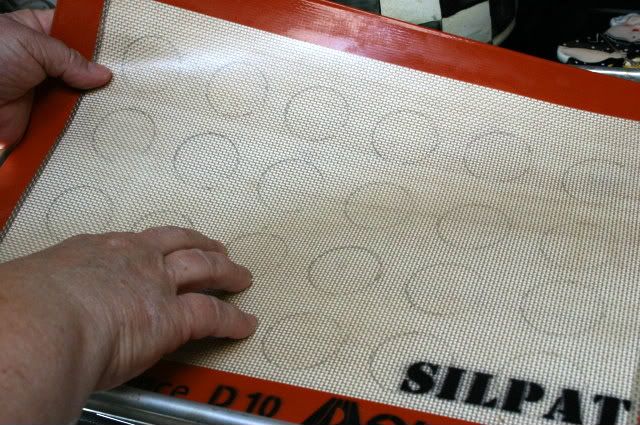 Using the large end of a decorating tip, I traced 1-inch circles onto paper and slipped it underneath the silpat on the baking sheet.
 This was used as a guide for piping the Macarons.
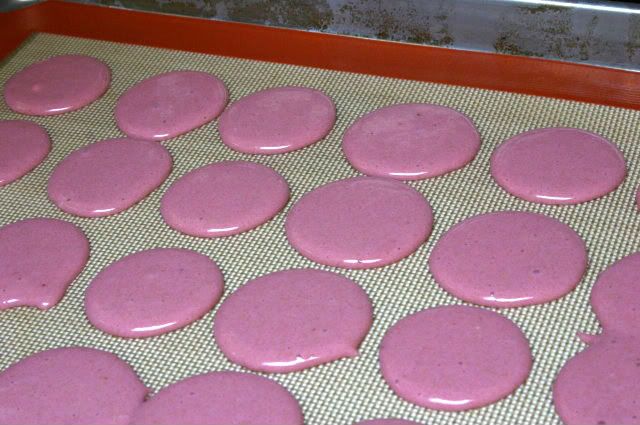 These were actually a tad too big, but that was because this particular batch was too runny. Why?? Because I decided to challenge the recipe and use Color Gels instead of Powdered Food Color as I was directed. They ended up tasting great, but it was back to the drawing board.
  Of course that didn't stop me from whipping up a chocolate ganache to sandwich in between those crunchy meringue layers.
 For the next batch I used Matcha Powder. These.....came out perfectly.
 Don't they look beautiful?? After they were piped, I slapped the bottom of the pan on the counter a couple of times to help settle the batter....not because I'm insane, but because most recipes tell you that this sharp movement is what gives the Macaron it's initial structure to develop "feet'. The piped batter should then sit out on the counter for 30 minutes before baking.
 This batch made it all worth the effort. They didn't raise up quite as high as I would have liked, but since this was my third attempt in one day, I wanted to kiss each and every one of them......but don't worry......I didn't.
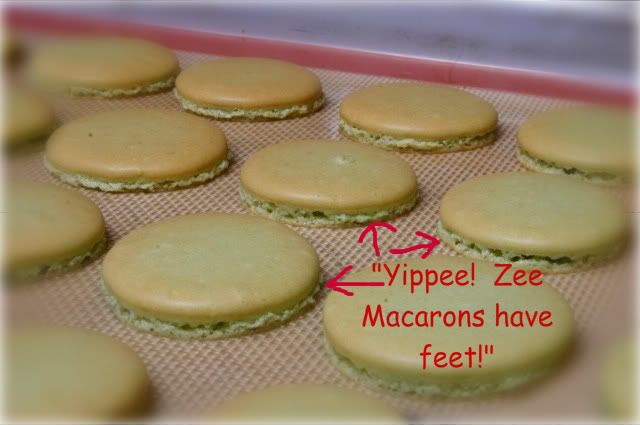 The ruffled bottom edge on each Macaron shell is called a "foot"....or in Francais, un pied. If you don't get the feet....it's not a Macaron.
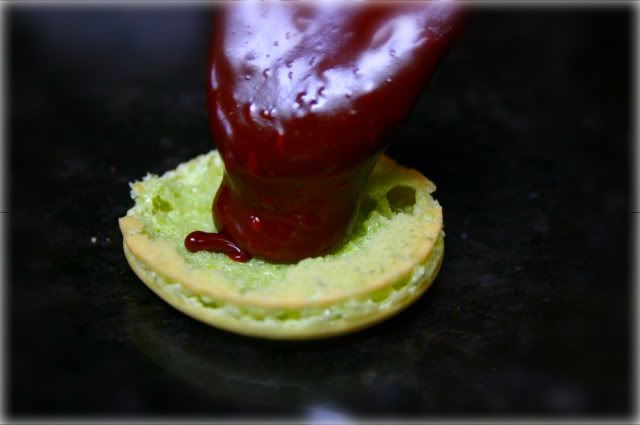
Dark Chocolate Ganache. Heat heavy cream in a double boiler until the milk starts to hiss, then turn off the heat. Add semi-sweet chocolate chips and stir until melted. Allow to cool to thicken. Any questions?
 I peeled this little guy off of the Silpat too quickly and he left some of his guts behind. I hate when that happens. Poor little dude. Tragic......but nothing a little Chocolate Ganache can't hide.
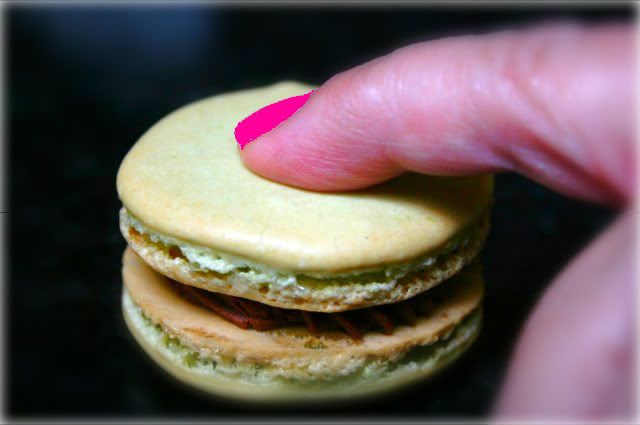 I was so embarrassed about showing you my "unmanicured blacksmith man-hands" all the time, so I Photoshopped myself a hotpink manicure. Sigh. If only all things in life were this easy. Isn't technology grand?

 Aren't they pretty?
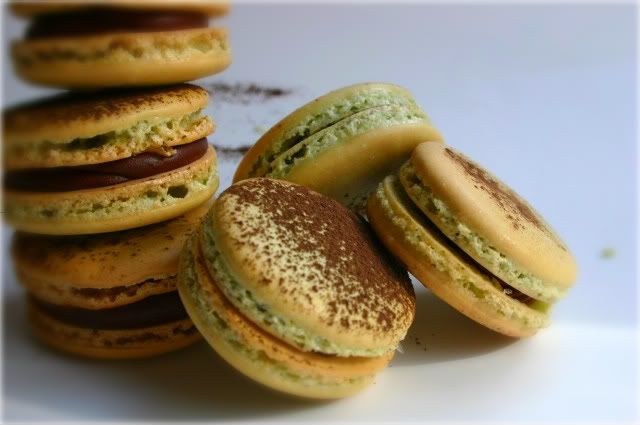 Matcha Macarons with Cocoa Ganache filling.
 I used bright yellow food coloring for this batch. Um. I wouldn't advise it. The liquid food coloring upsets the balance of the recipe. The batter is too runny and the Macaron didn't rise. It still tasted great but it really didn't have very good Macaron characteristics.
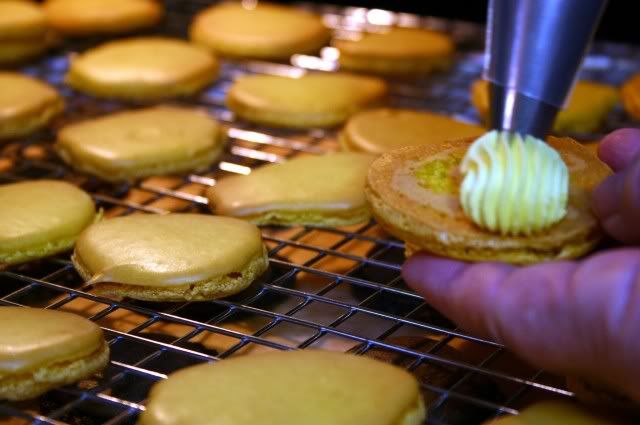 But I filled them up with lemon buttercream and brought them into work anyway.
  The Cocoa Macarons were my favorite.

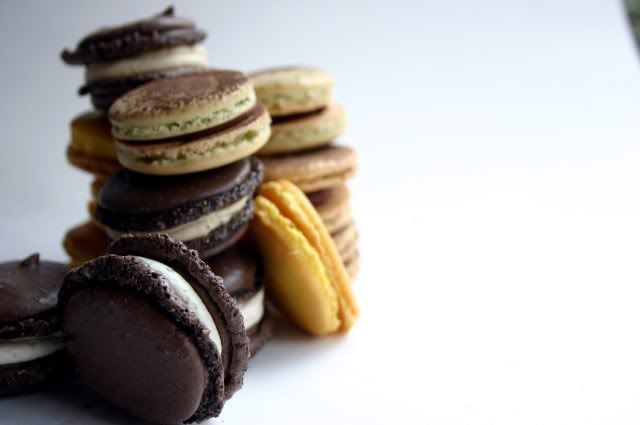 Then I put all the batches out on the table together so they could mingle.
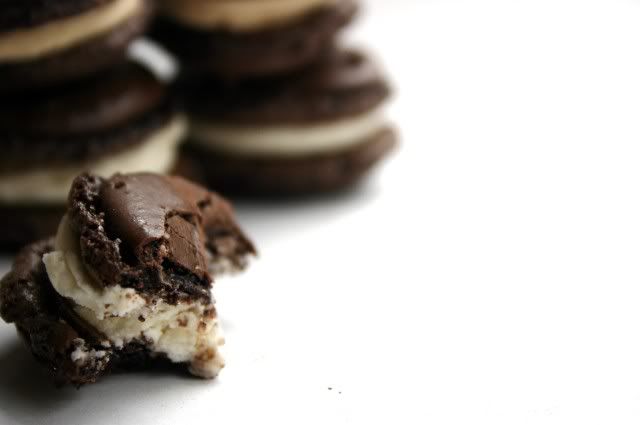


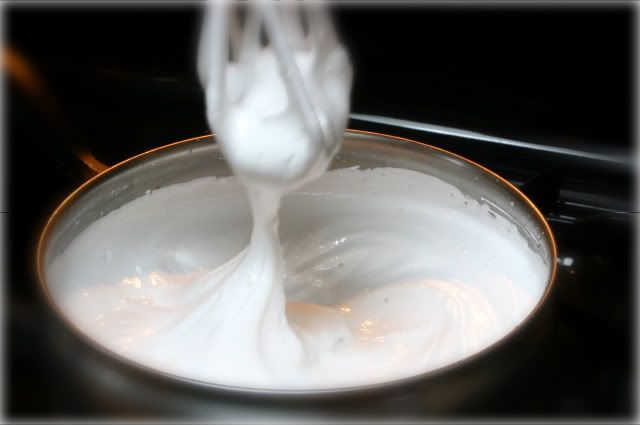
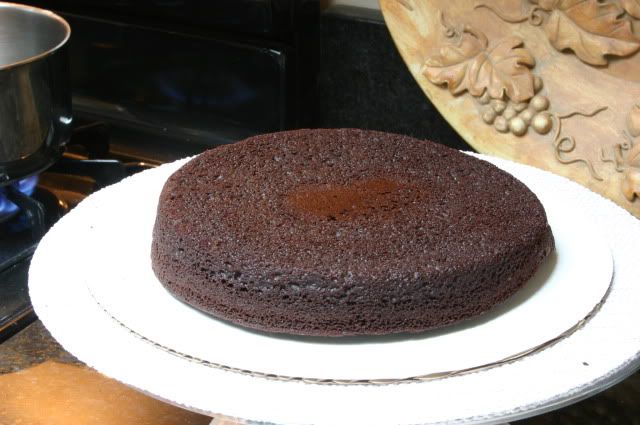
 After the cake had baked and was cooling, I made some yummy marshmallow cream to fill the layers of the cake. Try it! The directions are easy!


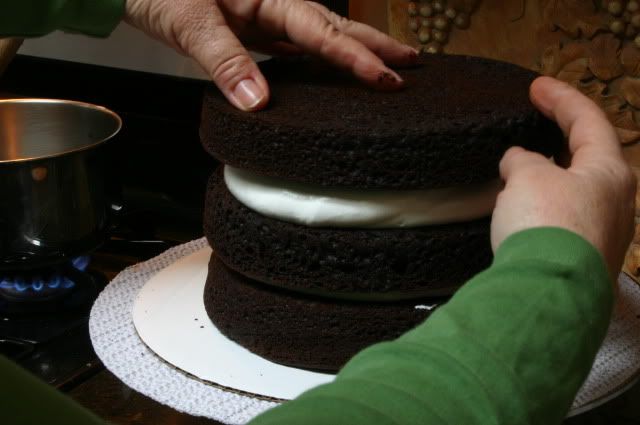

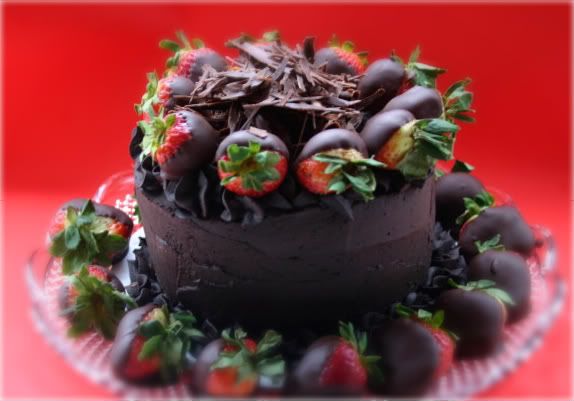
 Now for the good part. The frosting.

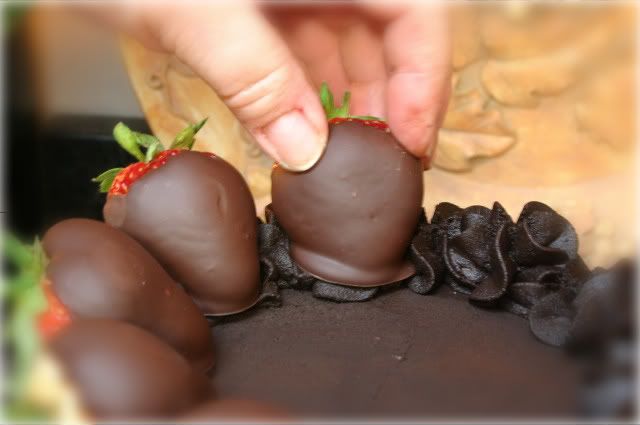
 but......
 I served John his birthday cake along with some Matcha and Cocoa cupcakes . It was one of the quietest birthdays on record. For about 10 minutes all you could hear at the table was the sound of forks scraping the plates and the occasional sigh.
 You are going to have to try it for yourself.