Tuesday, January 5, 2010

Chocolate Changes


I never make New Year's Resolutions.


Mainly because any time that I have made them....I have broken them. Doesn't everyone?? Where is she going with this, you may ask. Well I am still that fudge-loving person who will sprinkle you with sugar and chocolate chips, but I'm just going to mix it up a bit now and then. Because it's fun to try something new, and I really want to be a healthier, slimmer and happier person in the coming year. I need a change.


Because change is good, right?

(Can you tell that I totally swiped this clipart from a website?)
Change is why I'm a brunette now instead of a blonde. Change is also the reason why I've decided to sell my home and downsize my life (in more ways than one) even after I've just completed this totally awesome kitchen renovation. Because when you get right down to it, despite my the beautiful, gleaming granite countertops, my the gorgeous new hardwood floors and my the stunning new stainless steel appliances......it's just a kitchen, not a lifestyle. Big changes are sometimes necessary in life. Change sometimes helps us to be better at what we do. Like the saying goes, "If you always do what you've always done, you'll always get what you always got".
Hmmm. I guess the same rule would apply to this new recipe I'm about to share with you. Let me preface it by saying those dreaded words that every baker and chocolate-lover hates to hear..."I'm back at Weight Watchers". Yes "again". You there in the back of the room, I heard that. So the next time I see you, please don't offer me any Hostess Twinkies or Yodels or Funny Bones, or I may just have to hit you with them. That being said, I found this Weight Watchers recipe the other day and I was curious as well as fascinated, so of course I had to whip it up and share it with you.


Since Weight Watchers uses the Point System, anything containing chocolate with a low point value is worth a second look. The name of this recipe is simply "Dark Chocolate Cake"....which is innocent enough...until you read the list of ingredients. Let's just leave it at that for now, shall we. You'll see what I mean in a minute.
First you'll need to assemble your staff.

As well as the secret "magic" ingredient.....

Yes. You are seeing this right. SAUERKRAUT.
This is one of those baking secrets that you don't want to tell your kids about.
EVER.


Start with an Angel Food Cake Pan. Then preheat the oven to 350 degrees.


Combine the flour,

Sugar,

Baking Soda,

Unsweetened Cocoa,

Melted Butter , Hot Water,

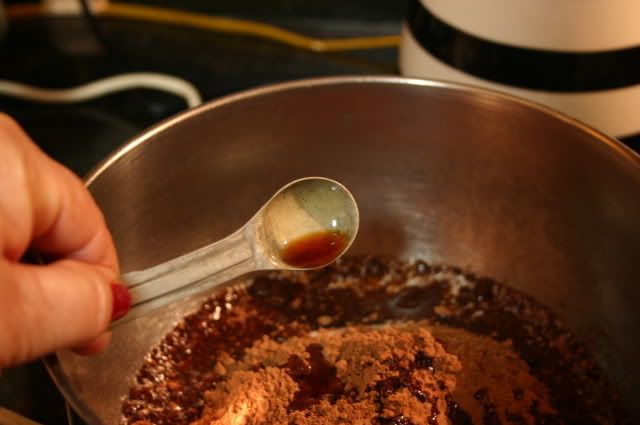
and Vanilla and combine thoroughly.

Place the sauerkraut in a food processor or in my case....a blender and puree it.
Puree it until it begs for mercy.
When it looks like applesauce,
......it's ready. Add it to your chocolate batter and beat the living daylights out of it for about 30 seconds.


That's it. You're getting the hang of it!

Spray your Angel Food Pan with non-stick cooking spray and pour in your batter.

Bake it for 50 minutes at 350 degrees.

When it's finished, remove it from the oven and allow it to cool before removing the sides and the center. At this point in the baking process, the chocolate aroma was so thick you could almost cut it with a knife.....but I was still skeptical at best. How in the world could anything smell so good when it contained sauerkraut? Sauerkraut. No eggs and no oil? I was prepared for the worse.

But as you can see, I still broke out my new silver cake pedestal for the occasion. Weight Watchers would be so proud!

This cake is surprisingly moist. You can see it. Are you looking at it? And the strangest part of it all is....YOU CAN'T TASTE THE SAUERKRAUT....HONEST. It is rich and unbelievably delicious.... and I'm a tough sell when it comes to chocolate cake, believe me. If the cake is cut into 14 slices, each slice is only 4 Weight Watcher Points or about 140 calories a slice. Did you hear me fellow Weight Watchers?? I said only FOUR POINTS PER SLICE. When the cake was cooled, I promptly sliced it into 14 slices and wrapped each one in aluminum foil. Then I buried them in the backyard put them in the freezer to be eaten at a leisurely pace instead of all at one sitting. (Who me?) See how well I'm doing with my portion control? HA! Serve it with Fat Free Cool Whip and a few strawberries or raspberries and a teaspoon (or two) of chocolate sauce and you can hunker down for the night.
I did.
(And of course I added another 2 points for the fat-free milk mustache too.)
Weight Watchers Dark Chocolate Cake
You will need:
Non-stick cooking spray
2 cups all-purpose flour
1 1/3 cups sugar
1 1/2 tsp baking soda
2/3 cup unsweetened cocoa
1/2 cup (one stick) melted butter
1 1/2 cups hot water
1 tsp vanilla extract
1 cup sauerkraut, pureed until smooth

Preheat oven to 350°F. Coat a Bundt or Angel Food pan with cooking spray. In a large mixing bowl or in the bowl of an electric mixer, combine flour, sugar, baking soda and 2/3 cup of cocoa. Add melted butter, hot water and vanilla extract; mix well. Add the pureed sauerkraut and blend thoroughly. Pour batter into prepared pan; bake in center of oven until a tester inserted in center of cake comes out clean, about 55 to 60 minutes. Cool cake in pan for about 20 minutes and then turn out onto a baking rack to cool completely. Sprinkle with 1 teaspoon of cocoa powder before devouring slicing.

Sauerkraut. Can you believe it? Who knew that a brine-soaked cabbage mixed into a rich chocolate batter, would bake into such a moist and delicious cake? Hmmmmm. Still a doubter? I dare you to try it.

But fasten your "chocolate" seatbelt.....

...and don't say I didn't warn you.

Sunday, December 27, 2009

The Christmas Cake


Yesterday was the first day officially baking with my new stove. Yes....I died and went to heaven. You understand that my kitchen isn't completely finished yet, right? I still don't have the little unimportant things like.........WATER.....but all in all it's painfully coming together bit by bit. There are some cabinets that haven't been installed yet and some carpentry items, like doorframes and windows, etc., but it's getting there and I am pretty happy about it too.


Okay....okay...I'll give you a couple of "teaser" photos.


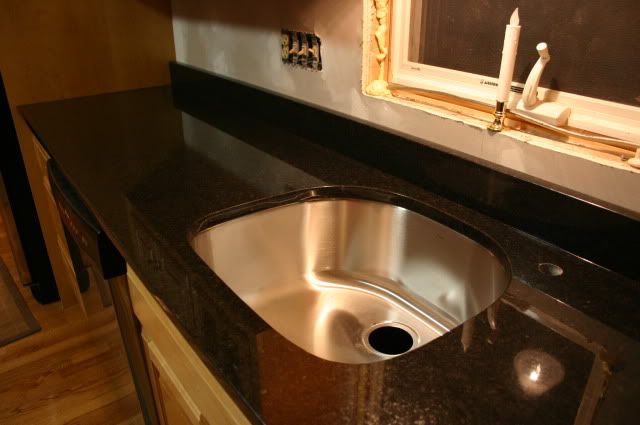
SHINY!


SHINIER!


SHINIEST!


Can you stand it?? I have suddenly developed a habit of walking out of the kitchen then turning around to walk quickly back in, blink and pinch myself. Hard.


The timing on my new granite countertops was perfect. I haven't baked in almost three months and I was really hoping to bake something fun for Christmas. I also received a fabulous new cake pan from my Aunt Grace in South Carolina and I was just itching to try it out.


This fantastic cake pan is made of a fairly heavy cast iron, fashioned in a circle of trees with an open center. I have so many ideas for this one! White cake tinted green and flavored with peppermint, perhaps?? Throw on a few silver dragees for ornaments and voila! Fabulous! Except I thought the kids may run screaming ino the night if chocolate wasn't involved, so-o-o-o as you can see I was backed into a corner on this one. Pushed right up against a wall. Run out of town. Chased up a tree. You get the picture, don't you? I was forced to use chocolate to make this cake. Forced I tell you! But let's get serious here..........giggle.........is there any other way??


I used a Hershey's One-Bowl Chocolate Cake recipe, and it was fabulous!


2 cups white sugar
1 3/4 cups all-purpose flour
3/4 cup unsweetened cocoa powder
1 1/2 teaspoons baking powder
1 1/2 teaspoons baking soda
1 teaspoon salt
2 eggs
1 cup milk
1/2 cup vegetable oil
2 teaspoons vanilla extract
1 cup boiling water


Preheat oven to 350 degrees F (175 degrees C). Grease and flour pan(s). In a large bowl, combine sugar, flour, cocoa, baking powder, baking soda and salt. Make a well in the center and add eggs, milk, oil and vanilla. Beat for 2 minutes at medium speed. Stir in boiling water. Pour into pan(s). Bake at 350 degrees F (175 degrees C) for 30 to 35 minutes, or until a toothpick inserted into the cake comes out clean. Cool for 10 minutes in the pan, then turn out onto a wire rack and continue cooling.


My new stove has a w-i-d-e window in the door. LOVE IT!


Sorry about the blurry photo. At first I thought it was my eyes (again), but then I realized that my camera battery was fading. But with the smell of chocolate hanging heavily in the air....who cares if it's a little blurry?


After letting the cake completely cool on a rack, I inverted it onto a glass cake plate and voila!


Although I had planned to serve this with a scoop of chocolate and peppermint ice cream, something else was missing. Hmmm. Seems to me that Bailey's Hot Fudge Sauce would make this cake sing! What is Bailey's you ask?? Bailey's was an ice cream parlor originally founded in Boston, but growing up I remember going to a Bailey's in other towns as well. There was nothing like a sundae from Bailey's. NOTHING. The floors were always very clean and shiny. The areas around the perimeter of the shop were dotted with dime-sized tables with ice cream parlor chairs. The soda fountain area was always gleaming. Ice Cream flavors were listed above the mirrors behind the counter and the Soda Jerk was always dressed in a white shirt and little black bowtie. I just love that name...Soda Jerk. When we were kids we used to think it meant "Give me a soda.....ya jerk!" I believe the Soda Jerks also wore pants too, but I was always too short to lean over the counter and check.


For those who may need a reminder, a Bailey's Sundae was always served in a silver pedestal dish on top of a small silver plate. The silver plate was used to catch any drips or dollops of hot fudge that happened to slide off of your ice cream. Because you can't waste hot fudge. Especially Bailey's Hot Fudge. My mother told me that would be a sin.

After sucking down finishing your Sundae, Bailey's always had a water fountain at the end of the counter with little paper cups. Why was it that the cold water from Bailey's tasted so good after a Hot Fudge Sundae?? We just couldn't get enough of it!

Now, there are several versions of Bailey's Hot Fudge recipe online, but after several taste "tests" over the years, I believe this one is THE one. In any case, it's the one that my taste buds remember from that marble soda fountain many years ago.

You will need:

1 stick of Butter
2-3 ounces of unsweetened chocolate
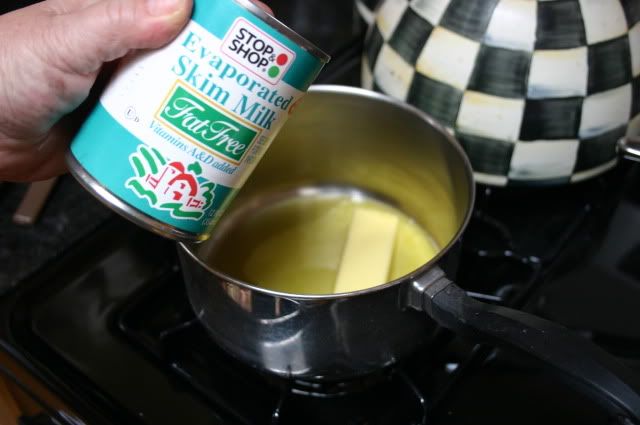
3/4 cup Evaporated Milk
2 cups Confectioners Sugar


Take a deep breath and melt the stick of butter over low heat.


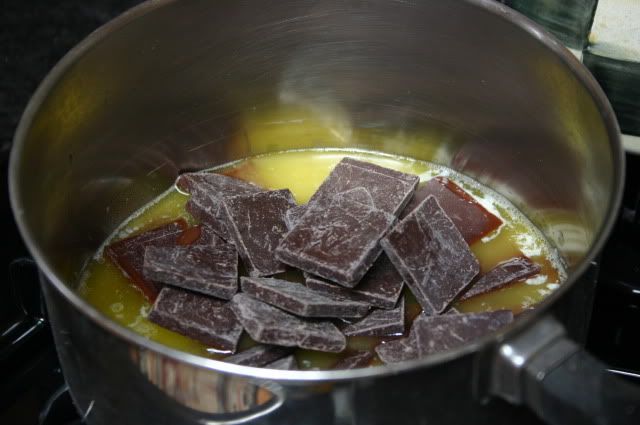
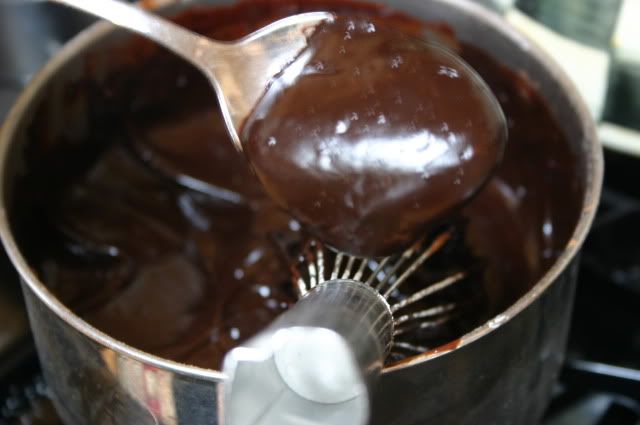
Add the chocolate and allow it to melt into the butter. Keep breathing deeply.


Add half of the evaporated milk portion to the chocolate and butter mixture and whisk together.


Don't forget to breathe.


Add the Confectioners Sugar one cup at a time alternating with the remaining portion of evaporated milk.

Sweet. Moses.


Help me.

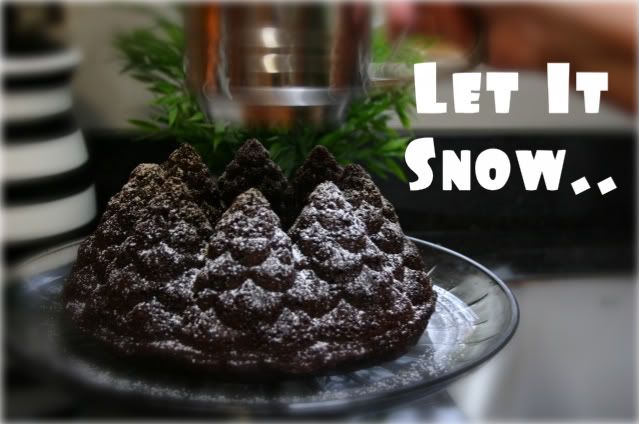
I shook lots and lots of confectioners sugar onto the top of the cake just before serving. The sugar stuck in all the nooks and crannies and really highlighted the cake's shape.


Doesn't it look pretty?? Thank you Auntie!

Then I cut out one of the "snow-covered" tree's in the cake and served it with a scoop of chocolate ice cream and a generous ladleful serving of Bailey's Hot Fudge.
Gulp.
Don't you just love the Holidays?

Now if you'll excuse me, I have to go put on my stretch pants.

Saturday, December 19, 2009

Shiny and New!

It's almost finished.


Maybe you didn't hear me. I said, IT'S ALMOST FINISHED!
Somebody pinch me.

It's so close, I can almost taste it. It's really happening. After all these months, I can finally see the light at the end of the tunnel. I have some "snippet" photos for you. You didn't really think I was going to show you the entire kitchen yet, did you??? I'm saving the big reveal for when it's completely finished. (God willing....it will be in our lifetime.) But all in all....it's really moving along.

My floor is finished.


My cabinets are installed.


And today, on the eve of an east coast Blizzard, my shiny new stainless appliances were delivered.


My new granite countertops are being installed next Wednesday and all of the kitchen sink plumbing will be hooked up by next Sunday. Notice how I have suddenly taken personal possession of the components of this renovation. "My" floor..."my cabinets". It's not totally unlike someone talking about their child, is it? All I know is after this renovation, I've earned the ownership rights to all of it. I feel like I sweated through a couple of months of labor and today I pushed out a gargantuan, beautiful stainless steel side-by-side refrigerator.


I think I'll name him Perry.

Friday, December 11, 2009

I'M FLOORED!


Literally.


My new hardwood floor is down and polyurethaned. Dare I say it? Okay, I'll say it......the word on the street is that the upper cabinets are going in this weekend. The countdown to the completion of this new kitchen has officially begun! I can only hope that the light I see at the end of this tunnel is not the light of an oncoming train.

Is everyone having fun baking Holiday Cookies (sniff) WITHOUT ME????