Monday, June 29, 2009

Sweet Tarts!


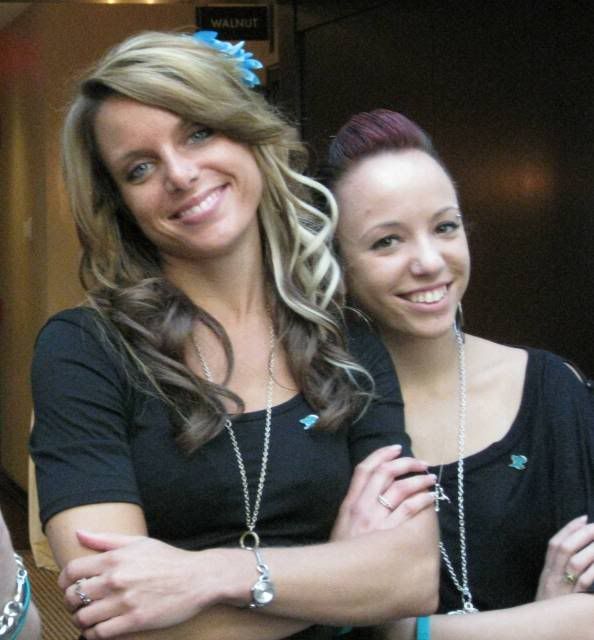
It's true. Angela and Trish are leaving the salon.

(Sniff)


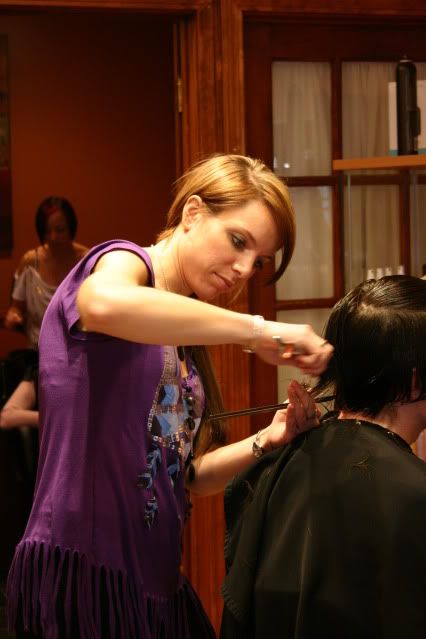
Let me start by saying that it was a privilege to work with "Ange" for the past several years. We shared a laugh about something everyday. I feel I can honestly say that the girl is a peach. She is such a talented stylist/colorist, always smiling, yet hardworking with boundless creativity. Although I am going to miss her terribly, I wish her all the happiness that life has to offer. She has been presented with a fabulous opportunity to own her own salon, so she's going for it....and she's taking her sister Trisha with her. Although she's on the brink of becoming a stylist herself, Trisha quite possibly could be the most talented shampooer a.k.a. head massager east of the Mississippi. Seriously.....she's that good. The clients rave about her.


In any case, the salon quite graciously is putting on an Appreciation Night for Ange and her clients, and Ange asked me if I'd make something. She requested Fruit Pizza, but I had other ideas. Smaller ones.


Using the same concept as the Fruit Pizza, but smaller, and cuter. Would you consider a tart to be cute? I've never really thought so, but in this case.....I do.

Instead of using the pre-made refrigerated sugar cookie dough, I made it from scratch. Not because I'm an over-achiever, but because I needed a lot of cookie dough and it was too expensive to buy the needed packages. Don't hate me......it's an easy recipe, I promise. This recipe will make about 5 dozen 2 1/2 inch round cookies.


The Ultimate Sugar Cookie

3 cups powdered sugar

2 cup (4 sticks) softened butter

2 large eggs

2 teaspoons vanilla

5 cups all-purpose flour

2 teaspoon baking soda

2 teaspoon cream of tartar

granulated sugar

First, mix powdered sugar and butter together.


Add the eggs,


flour,


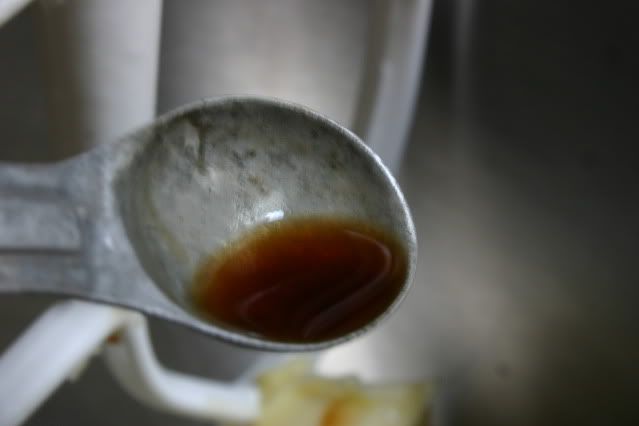
vanilla,


baking soda & cream of tartar,


then stand back and beat the living daylights out of it......


....then refrigerate the dough for at least 2 hours or until it's firm.


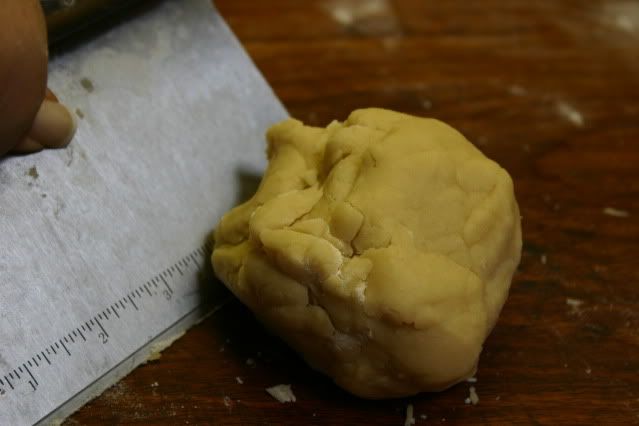
When you're ready to bake, set your oven at 375 degrees then generously flour your board and rolling pin....because this stuff is sticky!


Take your dough from the fridge and roll it out to about 1/8 inch thickness.


Okay, I just noticed that I am referring to the dough as "your dough". Like it's your child.


A pastry cutter is great when working with this type of dough. Do you have one?? I find myself using it for almost every baking project. It has a sharp edge and makes an easy job of scraping up the dough.


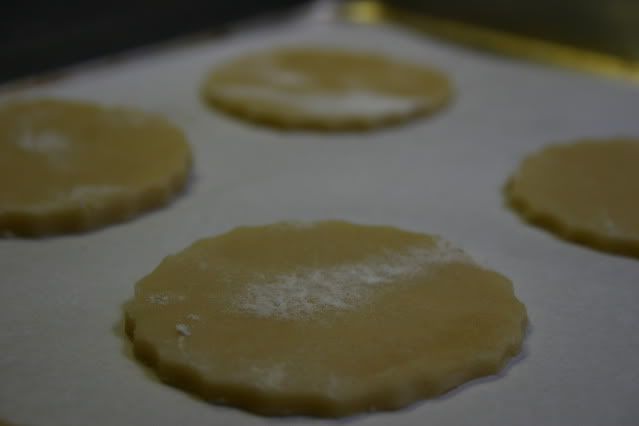
I used a round fluted cutter to cut out the shape.


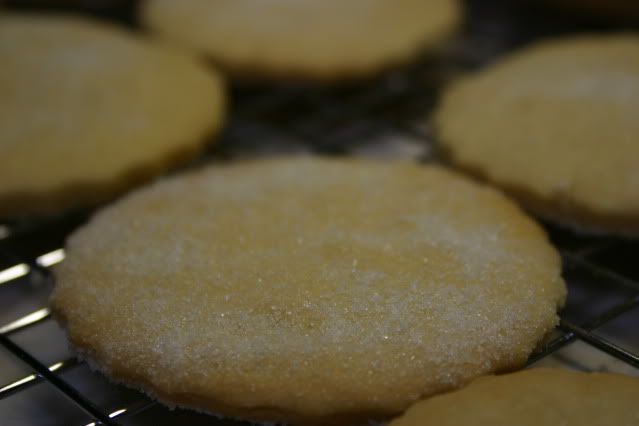
I sprinkled each cookie with a little granulated sugar before popping them into the oven, but that's optional. Depends on whether or not you like that satisfying crunch!


I baked them for about 14 minutes.......but watch them. You want the cookie to have a firm but chewy texture rather than one that's going to abruptly crunch and explode into crumbs when you take a bite.


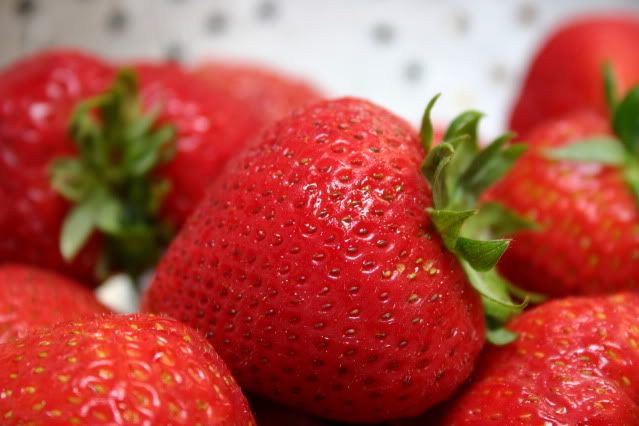
While the cookies are cooling, get your fruit together and start prepping. For these little tarts I used juicy, red strawberries,


crunchy green grapes,


jumbo blueberries,


shiny, shiny blackberries,


and succulent kiwi.


Doesn't this fruit look good? ...and it's so fresh it almost jumped up off the counter and slapped me in the face!

Okay, wash and pat dry all of the fruit. I sliced up the strawberries, grapes and kiwi, but left the blueberries and blackberries whole. Once you've finished slicing, put them all aside while you whip up the cream cheese frosting.


I don't even remember where I got this recipe, but I know this..........it will be the last cream cheese recipe you will ever need. It is the bomb!


Cream Cheese Frosting
8 oz. cream cheese
5 tablespoons of butter
2 teaspoons of vanilla
2 cups confectioners sugar


Once the ingredients are all in the bowl, turn the mixer on and start singing loudly "beat it.....beat it......no one wants to be defeated". Oops, sorry. That was my little tribute to Michael Jackson. Poor Michael. Feel free to moonwalk if you wish.


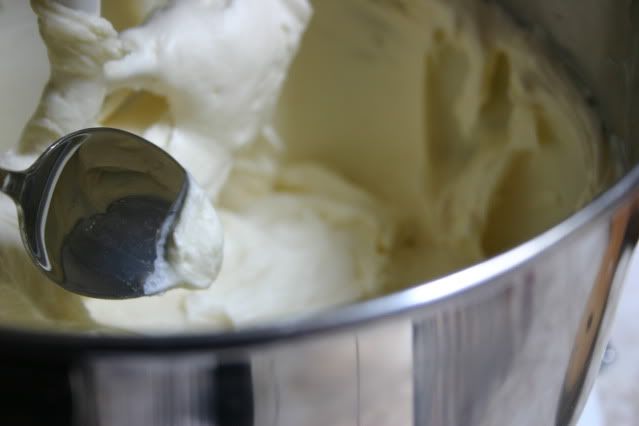
You'll know that the cream cheese frosting is ready when its yellowish color gives way to a chaulky white. Geez....it's hard to resist, isn't it? (Notice the spoon approaching the target bowl from the left)


Incoming!

Maybe just a teensy taste........


Okay, let's take a time out for a second. From now on, I have to keep my glasses on when I'm baking. It's just that they annoy me so much. I have prescription progressive lenses. Okay, okay, they're bifocals. Sometimes I just like to pretend that I am not a little near-sighted and a little far-sighted (thanks Mom and Dad) I like to pretend that I'm 21 years old again and have the eyes of a hawk. But just in case my prescription glasses are out of reach, I keep tons of magnifiers around the house. But still I fight it.....I don't need my glasses. I don't need my glasses....I'm doing fine.....see? I don't need my glasses. Then something like THIS happens and I'm brought back to earth in flames. Do you see what's wrong with this picture??


Halfway through the baking process I REACHED FOR THE WRONG SIZED COOKIE CUTTER BECAUSE I DIDN'T HAVE MY DANG GLASSES ON.


Okay, where was I? Ah yes. I filled a pastry bag with the cream cheese frosting and a large fluted tip, although any type of decorating tip will do nicely. Then I piped a small amount onto each cookie, keeping the height of the frosting low.


I placed a piece of each fruit on top of the cream cheese frosting....artfully presented, of course and finished it off with a sprinkling of mini semi-sweet chocolate chips.


Pretty, aren't they??


But wait! What's that you say?? I'm not finished yet? You're right, something's missing.....hmmm....What could make this better??? What makes everything better? Could it be...perhaps.....a smattering of rich, dark chocolate???

Whew!.......and the world is a better place once again.

After melting semi-sweet chips in a double boiler, I spooned the melted chocolate into a clear plastic bag and cut a hole in one corner. The hole should be about the size of the head of a pin. Then, working quickly, gently squeeze the bag and move it side to side to cover each cookie with the melted chocolate. Of course if you're like me, I load up the bag and just throw it on. My kitchen bears the marks of being a true chocolate-thrower. Sort of like a flame thrower, only you won't mind being on the receiving end of this one.


So there you have it.......


Sweet Tarts for a couple of sweethearts!


Saturday, June 27, 2009

And we have a winner!

Wow! My first contest is over. Notice that I just said "my first". Believe me, there will be many, many more. Some of the prizes will be cookbooks, but some of the prizes might be bigger. And shinier. And maybe some of them you'll have to plug in. (muffled scream) We'll see what the magic prize fairy can conjour up. So you'll just have to wait and see. In any case, make sure to add this blog to your list of favorites so you don't miss an episode.
....and now, I'm happy to announce that the winner of the Crazy for Cupcakes cookbook is.................(drum roll)

#3. Amandadawn.
Screams. Crying. Applause.
In the meantime, keep baking everyone...............I'm off to buy more supplies. Let's see......flour, sugar....oh, and chocolate.
Talk soon!!!

Tuesday, June 23, 2009

Hi-Hats!

This is absolutely one of my favorite cupcake recipes OF ALL TIME. Pretty strong statement, don't cha' think? Most people have never heard of a Hi-Hat.....but once you've had one, you'll never forget it. It's an incredibly rich combination of chocolate and marshmallow cream. (slurp) Sorry...I just drooled on the keyboard..........again. I hate when I do that.


I made them for my niece Brenna's Kindergarten Graduation yesterday. Because these were "little people" we are talking about, I made Mini Hi-Hats as they're much easier for little hands to wrap around. My sister Kathy wanted to be sure to get to the school early to get a good seat.

Nice call on that one Kath.

Anyway, these Hi-Hat cupcakes were a total hit with the kids.....I even saw a few parents jumping over kids to scoff them down. They are insane! Not the parents....the cupcakes. They are a huge crowd pleaser and people will bow down to you forever if you make them. I got the recipe from one of my favorite cookbooks called appropriately, "Cupcakes!" by Elinor Klivans.

You know I have about a thousand cookbooks, right? Well my other favorite cupcake book is called "Crazy about Cupcakes" by Krystina Castella. Do you have it?? What do you mean you don't have it? You're kidding, right??


Well it just so happens, that I have two of them, so I'm giving one away. All you have to do is leave me a comment at the end of this post and tell me what your favorite cupcake is. That's it. Contest ends this Friday, June 26th at 9pm eastern standard time. The winner will be selected (via Random.org) then posted on Saturday before noon.
So, where were we? Ah yes, so you wanna learn how to make the Hi-Hats?? Then pull up a chair and "batter up" your bowls.
Chocolate Hi-Hat Cupcakes

3 ounces unsweetened chocolate, chopped
1 cup unbleached all-purpose flour
1/2 teaspoon baking powder
1/2 teaspoon baking soda
1/4 teaspoon salt
1/2 cup (1 stick) unsalted butter, at room temp
1 1/4 cup sugar
2 large eggs
1 teaspoon vanilla extract
1/2 cup sour cream
1/2 cup water

Put the chocolate in a heatproof bowl or the top of a double boiler and place over simmering water (don't let the bottom of the bowl touch the water...or all hell will break loose) Stir until the chocolate is melted and smooth. Remove from water and set aside to cool. Sift the flour, baking powder, baking soda and salt into a medium bowl and set aside.

In a large bowl, using an electric mixer, beat the butter and sugar until smooth and creamy. Scrape down the sides of the bowl as needed. (I said scrape not lick). Then, with the mixer on low speed, mix in the melted chocolate. Then add the eggs one at a time. Add the vanilla and beat until the mixture is creamy. Mix in the sour cream. Now add half of the flour mixture and mix it up. Add the water and continue to mix. Now add the remainder of the flour mixture. Pour into a cupcake lined cupcake or muffin pan and bake at 350 degrees for about 15 minutes (depending on your oven).

Use a toothpick inserted in the center of one of the cupcakes to test for doneness. If the toothpick comes out clean, the cupcakes are ready.


Now for the oooey, gooey stuff that goes on the top.....

Marshmallow Filling
1 and 3/4 cups sugar
1/4 cup water
3 large egg whites
1/4 teaspoon cream of tartar
1 teaspoon vanilla extract

Put the sugar, water, egg whites and cream of tartar in a double boiler and beat with a handheld electric mixer over simmering water on high speed FOR 12 MINUTES. You heard me. You can sing for 12 minutes, or hum or recite the Declaration of Independence. (No, I'm sorry, I don't know it either.....I was just trying to be helpful) Remember......beat the living daylights out of it for 12 minutes. Trust me, it will be worth it. Oh and one more important thing. Be careful that the electric cord from the mixer isn't too close to the burner...because that would be bad. So very, very bad.

After 12 minutes, add the vanilla and beat it again for another 2 minutes. The filling should form a stiff peak when you remove the beater. If it does that.....than yahoo......it's ready.


See?? 12 minutes. Stiff peaks. Isn't it pretty??


Now, just fill a large pastry bag fitted with a number 804 tip and pipe large swirls on top of each cooled cupcake. Okay, so if you don't have a#804 tip, you can use a zip-lock bag and cut about a 1/4 inch hole in one corner. So important that the cupcakes are completely cool (or cold) before you do this because if they're not, the filling will melt off the cupcake and hit the floor. Then your dog will lick it up and probably get sick, then they'll be a vet bill somewhere......the whole thing will be a mess...I'll feel guilty, etc. So please, please make sure your cupcakes are cold first.


Once you have piped all the filling, put the cupcakes into the refrigerator to firm up. I usually wait a couple of hours before dipping them into their chocolate bath or leave them in the fridge (with a guard dog next to them) overnight.

Chocolate Dip


2 cups semi-sweet chocolate chips
3 tablespoons canola or vegetable oil


Put the chips in the top of a double boiler over simmering water and let them melt.


Stir in oil until mixture is smooth. Turn off the burner and remove the top portion of the double boiler (the portion with the chocolate in it). Put it aside to cool down. I let it sit for a good 30 minutes. Then, holding each cupcake by its bottom, dip the top of the mound of filling in the chocolate coating, letting the excess drip off. Let the cupcakes sit at room temp for about 15 minutes, then return them to the fridge in a covered container. They are at their best when they are served cold..........but between you and me, they'd taste pretty good melted on a spoon too....or scraped up from the sidewalk even. Kidding! I'm just kidding.


or am I?


Since I transport so many cupcakes, it only made sense to invest in pretty pink bakery boxes with these special cupcake inserts in them. They are invaluable!


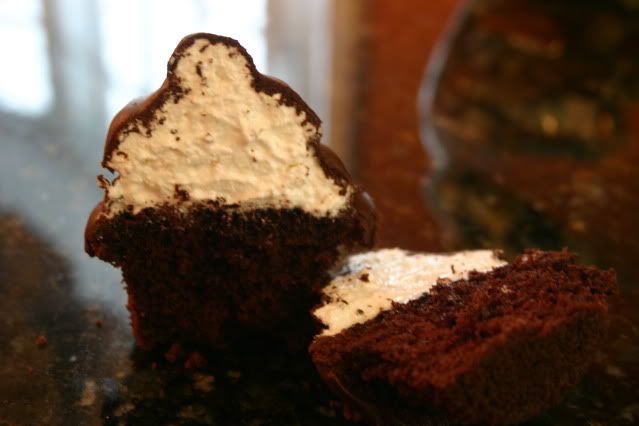
Now, when you've finished making your Hi-Hats, you can cut one in two and sit and stare at it. And marvel at its beauty and chocolateness. (Is that a word?) Well if it isn't, it should be. Somebody get on that....but remember, you heard it here first.

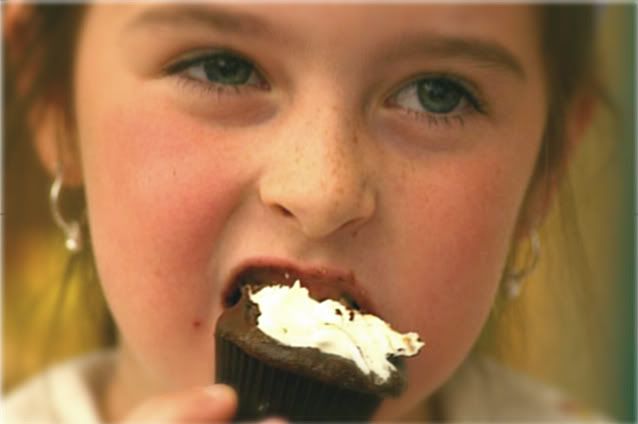
My niece Brenna is one of my taste-testers.
I think she likes them.


Don't forget to tell me about your favorite cupcake!


This is my favorite cupcake.