

This is my fabulous assistant Brenna, also known as my 6 year-old niece. She stayed with me throughout the entire building process, securing screws and also helping drill pilot holes (with very little assistance actually) for the dowels.

After a while, Emily became very bored with the activity and sleepily watched us from underneath the kitchen table.

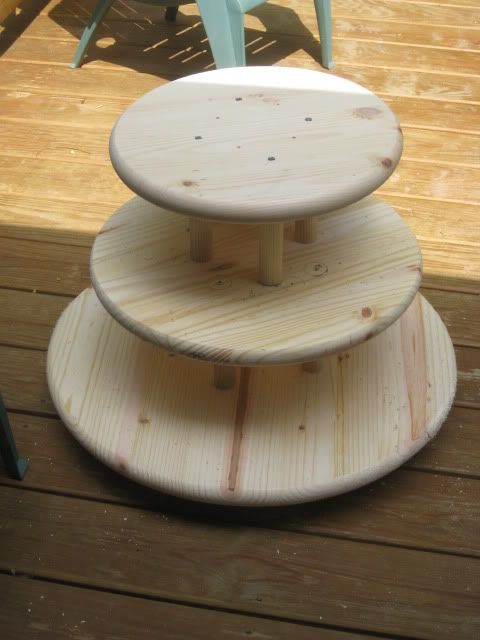
Initially, this was to be only three tiers..........but I knew I had to display 200 cupcakes, so it needed to be bigger. I ended up caving and adding another tier in the eleventh hour.

I tinted fondant apple green and chocolate brown and cut them into quarter-sized circles. After letting them completely dry out (about 3 days), I mixed up a batch of royal icing and piped the guest-of-honor's intitial on each "medallion".

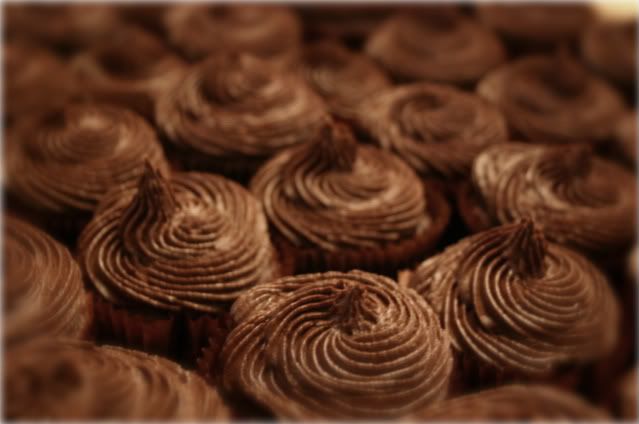
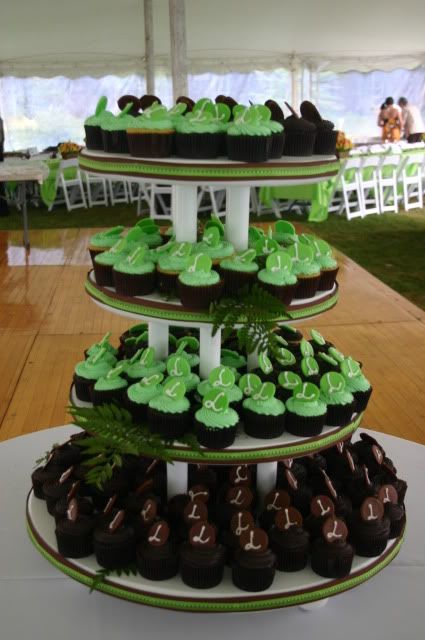
The plan was to make a total of 175 cupcakes. Half were chocolate cake and half were vanilla cake. Then...half of the chocolate cupcakes would be decorated in deep, dark chocolate and the other half would be vanilla mint flavoring and colored a beautiful fern green. (Sorry, I thought I took photos of the green frosting.....er, excuse me)


After sanding and priming the tower, I gave it two coats of satin finish and let it completely dry for about 3 days. Then I lightly sanded and used a clear poly spray glaze.

Since the colors of the event were chocolate brown and fern green, I coordinated ribbon to the tower using adhesive putty.
This stuff is GREAT!
You can use as much or as little as you need and it stays in place until you decide to move it. Hmmmmm, what else can I use it for...................................

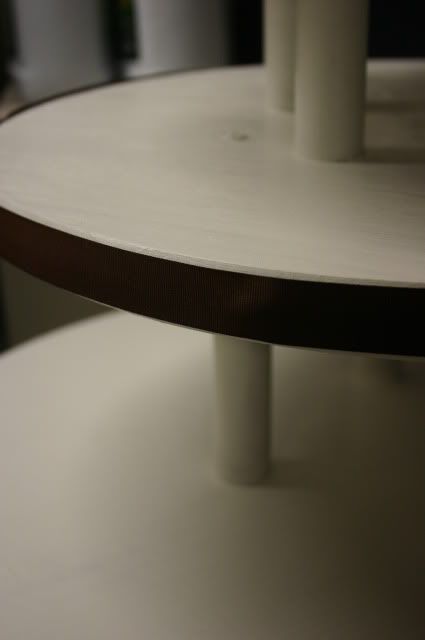
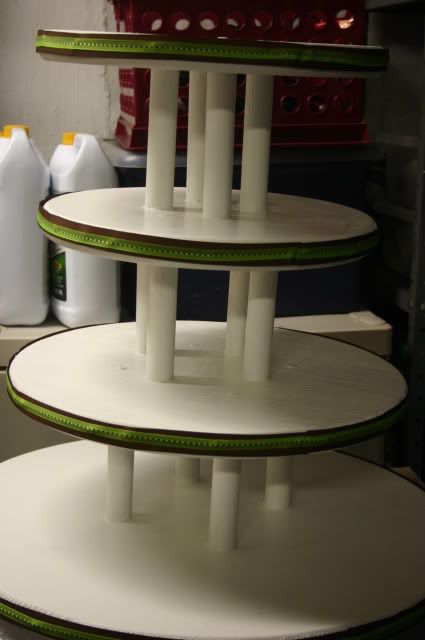
I painted the tower in my garage and decided to take advantage of the large fluorescent light there when placing the ribbon. Notice the two containers of antifreeze in the background? Nice touch, huh?

Isn't this the deepest, darkest chocolate frosting that you have ever seen???
Gulp.

I used fresh greens on each tier under the cupcakes. It gives the whole thing a more finished look and makes more of a statement, don't you think? (although I think I should have used more) Overall, I was quite pleased with the outcome of the tower. The event was held in a tent outdoors and the table that was provided for the cupcakes wasn't placed on level ground, so all of my photos of the tower make it look tilted.
So just so you know, it's not my tower that's tilted.........
4 comments:
Wow, what a great job. You are quite a builder. Any relation to Finnell home builders?
I am happy to see you are using 3M products in your creation. The cup cakes looked Yummy!
Love,
Auntie ML
Just beautiful!
Good Job. I am trying to buy a cupcake tower . everything runs around $100. Do u Mind telling me how much did it cost you. is it easy enough to make it. i have zero carpentry skill. so is my husband. appreciate if you could reply . thanks
Hi Pearse,
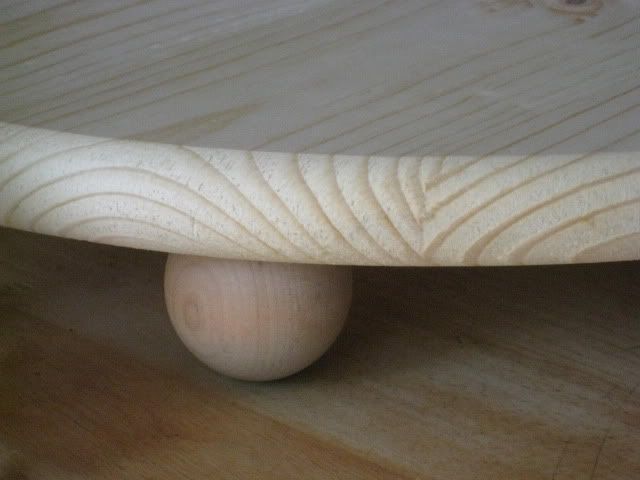
The tower cost me about 60.00 to make. I purchased all of the rounds at Home Depot as well as the dowling and round feet. It was a relatively easy project......if you're patient. Good Luck!!
Anne
Post a Comment